
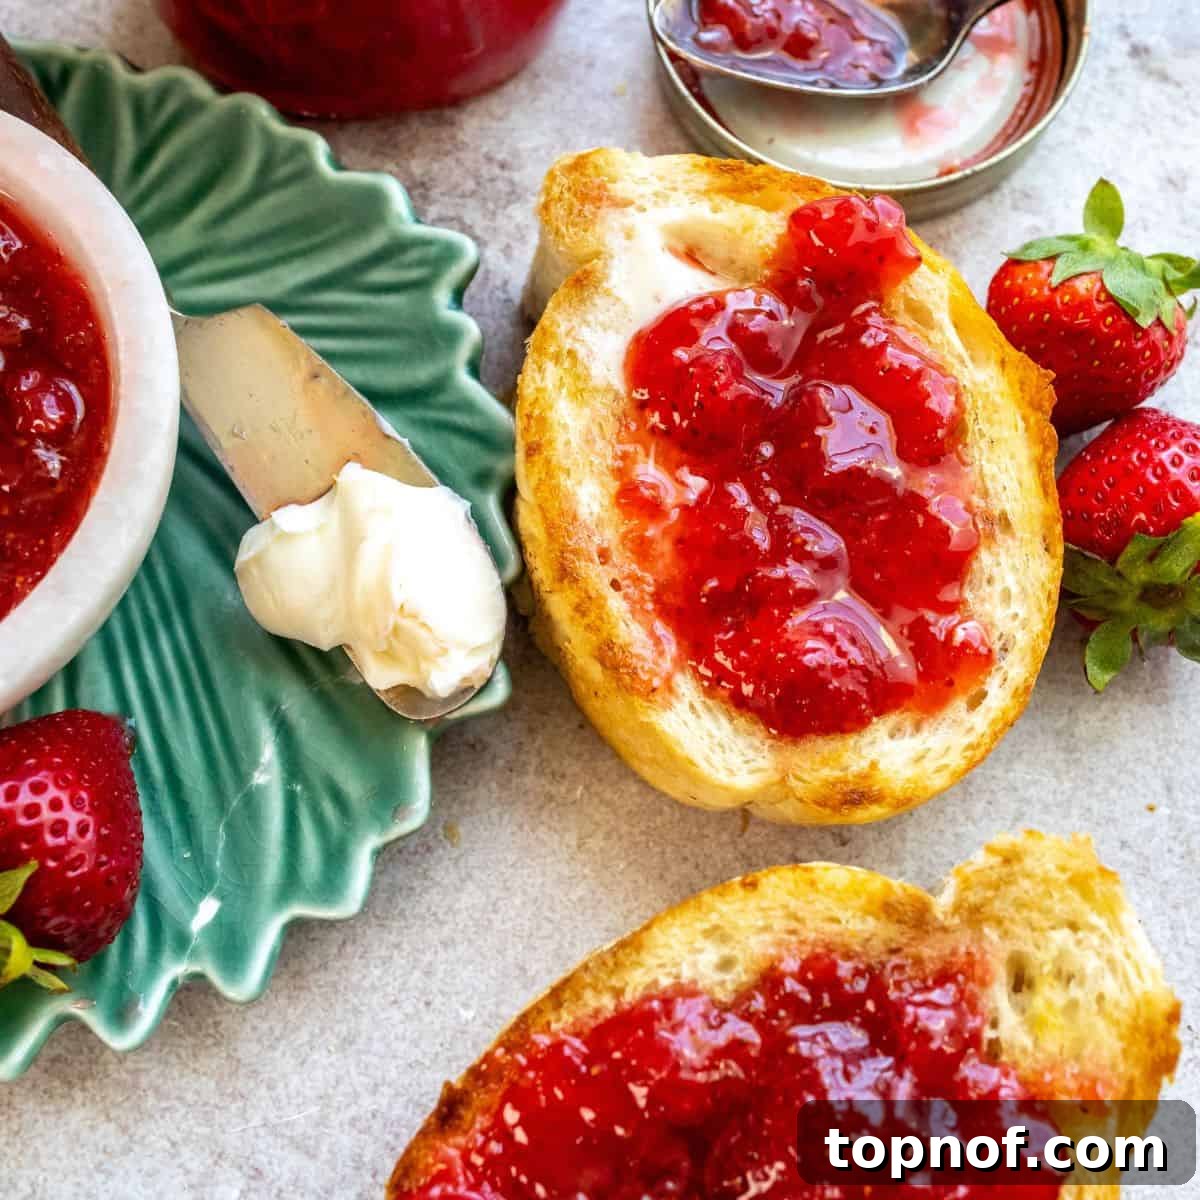
The Ultimate Homemade Strawberry Jam: Sweet, Simple & Seasonal Perfection
There’s nothing quite like the vibrant flavor of homemade strawberry jam. Forget store-bought options filled with artificial flavors and unnecessary additives; this simple recipe captures the true essence of fresh, ripe strawberries, offering a perfect balance of sweet and tangy notes. Crafted with just a few basic ingredients like luscious strawberries, granulated sugar, and a touch of fresh lemon juice, you can whip up a batch of this delightful preserve in under an hour. Whether you spread it generously on warm toast, swirl it into creamy yogurt, or use it as a decadent topping for your favorite desserts, this strawberry jam is a delicious reminder of summer’s bounty, bottled with care. Prepare to impress your taste buds and loved ones with this incredibly rewarding culinary creation.
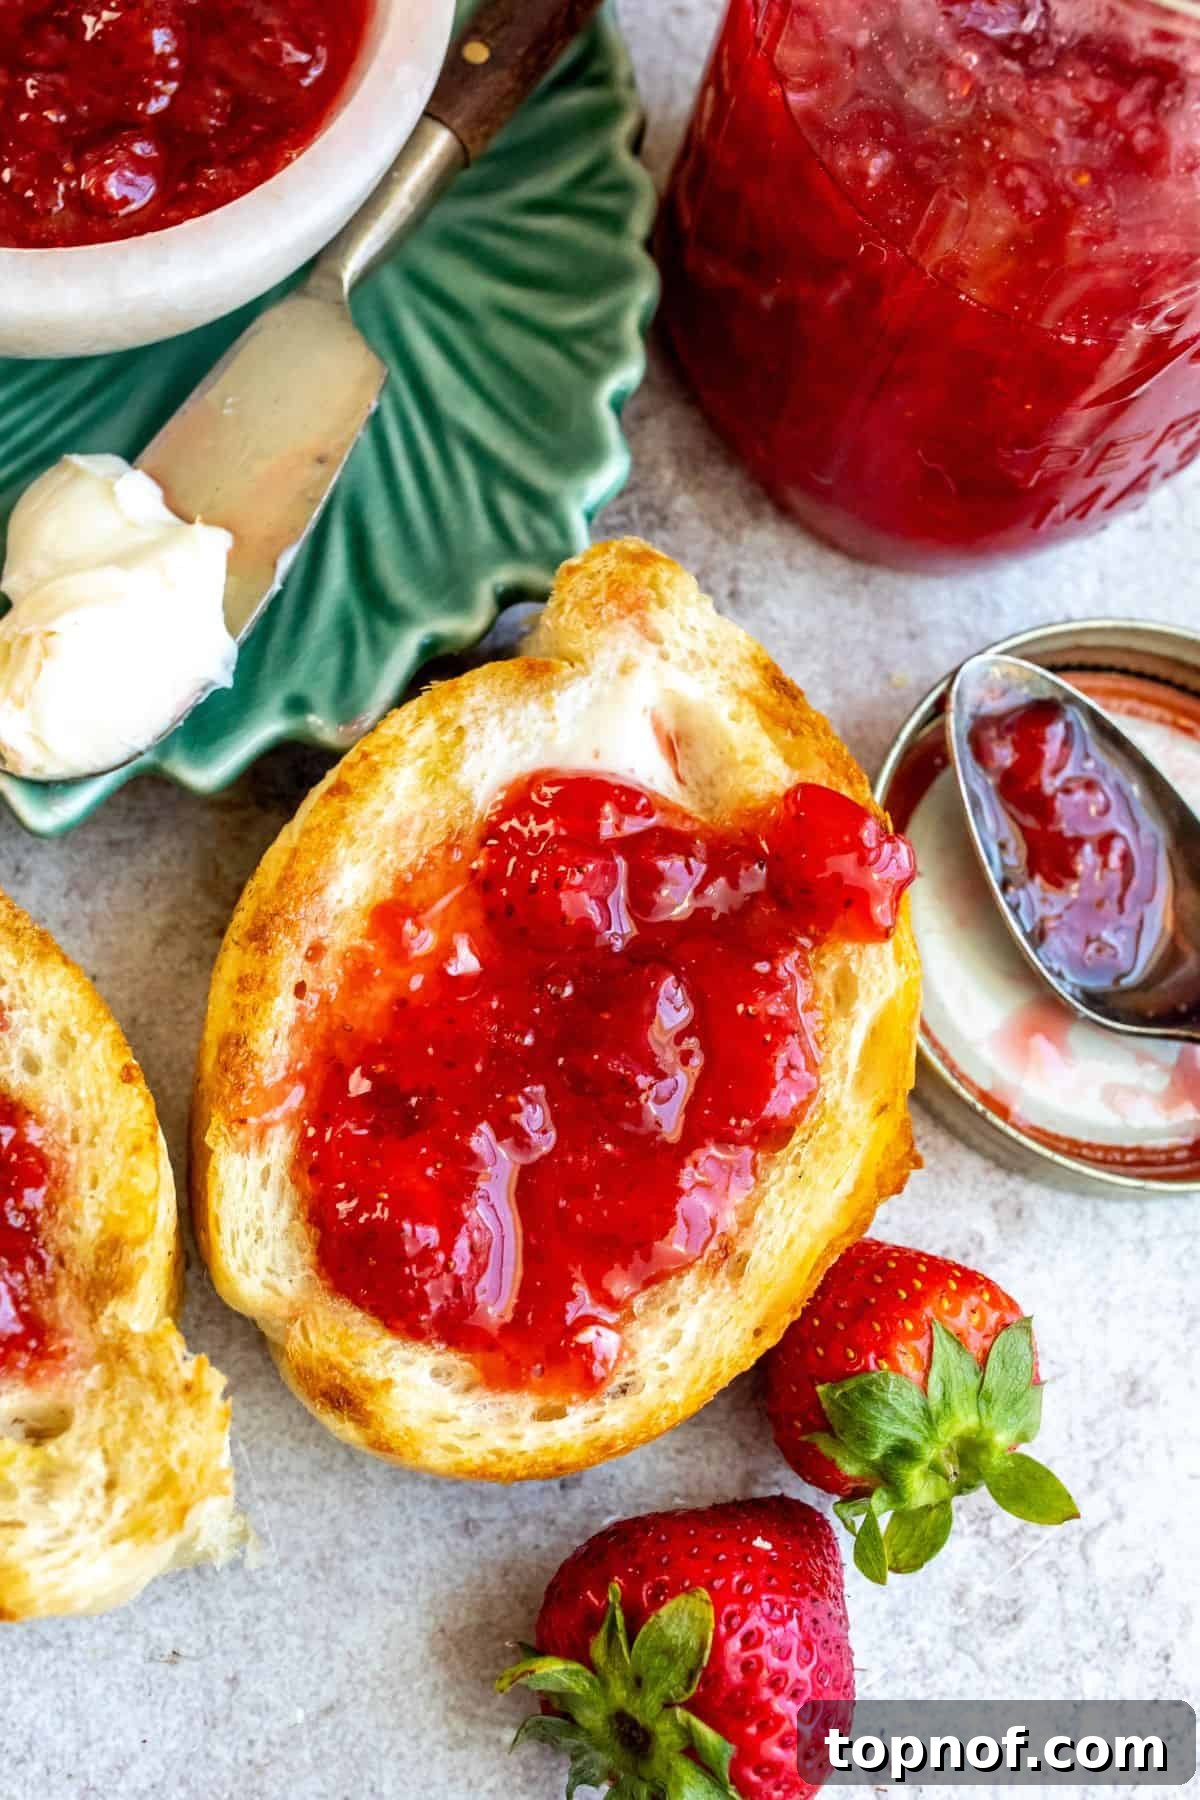
Why Choose Homemade Strawberry Jam? The Unmatched Joy of Preserving Summer
Strawberry season is a truly special time of year, gracing us with an abundance of juicy, ruby-red berries. While enjoying them fresh is an absolute delight, transforming them into homemade jam allows you to capture that peak-season flavor and savor it long after the last berry has been picked. Making your own jam isn’t just a culinary task; it’s a deeply rewarding experience that offers a multitude of benefits over store-bought alternatives:
- Pure, Preservative-Free Goodness: One of the most compelling reasons to make jam at home is complete control over the ingredients. This delicious recipe contains no artificial preservatives or added pectin. You’re simply using fresh fruit, natural sugar, and lemon juice, ensuring a wholesome, natural product free from unwanted additives. When properly prepared and stored, your homemade jam can last for up to a year, maintaining its exquisite flavor.
- Surprisingly Simple and Quick: Don’t let the idea of preserving intimidate you! This strawberry jam recipe is incredibly straightforward and efficient. With minimal fuss, you can have a batch of vibrant, flavorful jam ready in approximately an hour, from initial preparation to simmering on the stove. It’s an ideal project for both novice and experienced home cooks, proving that homemade doesn’t have to mean complicated.
- Flexible Batch Sizes: Whether you’re looking to create a small batch to enjoy immediately or a larger quantity to share with friends and family, this recipe is easily scalable. You can effortlessly double or halve the ingredients to suit your needs and the amount of fresh strawberries you have on hand, making it perfect for any occasion or harvest size.
- Incredibly Versatile Ingredient: Homemade strawberry jam is far more than just a breakfast spread. While it’s undeniably delicious on toast, biscuits, and muffins, its culinary uses extend much further. Explore its potential as a luxurious topping for pancakes, waffles, yogurt parfaits, or a scoop of vanilla ice cream. Incorporate it into your baking for delectable vegan jam cookies, rich cheesecakes, or delightful peanut butter jelly bars. You can even experiment with savory pairings, such as glazes for roasted meats or a vibrant component on a gourmet cheese board.
- Unmatched Flavor and Aroma: The taste of homemade jam is simply incomparable. The slow simmering process gently concentrates the natural sweetness and bright tang of the strawberries, creating a depth of flavor that store-bought varieties often struggle to achieve. The delightful aroma filling your kitchen as it cooks is an added bonus, creating an inviting and comforting atmosphere.
Essential Ingredients for Your Perfect Strawberry Jam
Crafting exceptional strawberry jam requires only a handful of quality ingredients. Each component plays a crucial role in achieving the desired flavor, texture, and natural preservation. Understanding the function of each ingredient will help you create a truly spectacular jam every time.
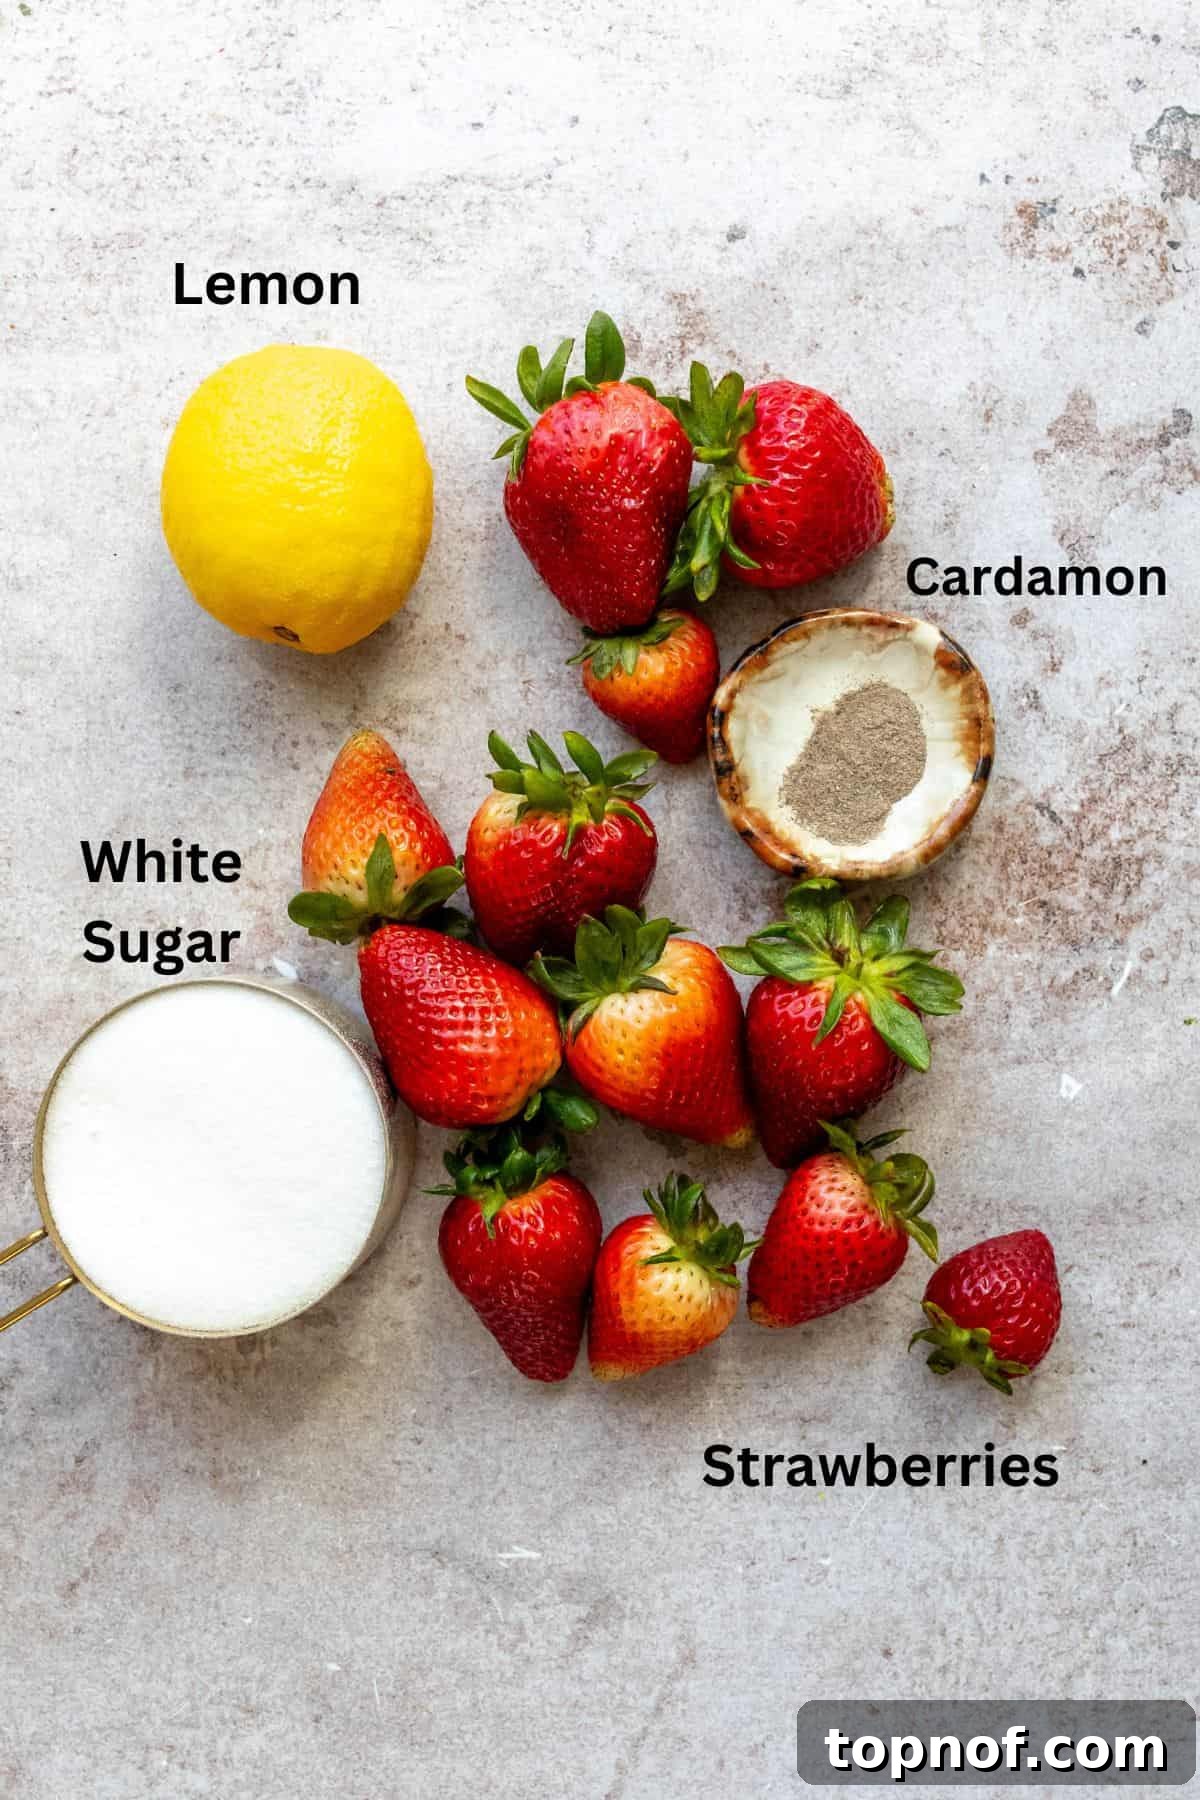
- Fresh, Ripe Strawberries: The undisputed star of this recipe! Always opt for fresh, fully ripe, in-season strawberries for the most intense and delicious flavor. Ripe berries possess the optimal balance of natural sweetness and acidity, which is essential for a good jam. If fresh aren’t available, you can certainly use frozen strawberries; just be sure to thaw them completely in the refrigerator beforehand and drain any excess liquid to prevent a watery jam. Hulling the strawberries (removing the green tops and white core) is a necessary step for a smooth, palatable texture.
- Granulated White Sugar: Sugar serves multiple vital purposes beyond just sweetness in jam-making. It acts as a critical preservative, inhibiting bacterial growth, and also plays a crucial role in helping the jam achieve its proper gelled consistency. While some might be tempted to reduce the sugar content, it’s important to adhere to the recommended amount for proper preservation and gel formation, especially in pectin-free recipes like this one. Granulated sugar is ideal for its fine texture and neutral flavor, allowing the strawberry taste to shine.
- Fresh Lemon Juice: This ingredient is absolutely non-negotiable and vital for a successful jam. Lemon juice provides the necessary acidity to activate the natural pectin present in strawberries, which is what allows the jam to set without the need for commercial pectin. Beyond its structural role, it also significantly brightens the overall flavor profile, cutting through the sweetness of the strawberries with a lovely, zesty tang that elevates the entire preserve. Always use fresh lemon juice for the best results; bottled juice can sometimes lack the same potency and vibrant flavor.
- Cardamom (Optional, but Highly Recommended): A truly wonderful optional addition that elevates the flavor profile to gourmet levels. Cardamom introduces subtle yet complex hints of lemon, ginger, and a touch of pepper, creating a sophisticated depth that beautifully complements the natural sweetness and tartness of the strawberries. Start with a small amount (like ½ tsp) and adjust to your personal taste; a little goes a long way in adding an exotic twist.
Essential Equipment for Effortless Homemade Strawberry Jam
Having the right tools on hand will make the jam-making process smooth, safe, and enjoyable. Here’s a list of the key equipment you’ll need to prepare your delicious strawberry jam:
- Heavy-Bottomed Saucepan or Dutch Oven: A large pot with a thick, heavy bottom is absolutely crucial. It ensures even heat distribution, which is vital for preventing the jam from scorching at the bottom and helps it cook consistently. A Dutch oven is an excellent choice due to its superior heat retention.
- Mason Jars with Lids and Rings: For proper storage and preservation, you’ll need clean, sterilized jars specifically designed for canning. Quart or pint-sized jars are commonly used for jams.
- Potato Masher or Large Fork: Used for crushing the strawberries to your desired consistency. A potato masher is quick and efficient for creating a chunky or smoother jam.
- Metal Straw (Optional, but Handy for Hulling): A clever and efficient tool for quickly and cleanly removing strawberry tops with minimal fruit waste. It simply pushes the core out.
- Long-Handled Spoon or Heat-Resistant Spatula: Essential for stirring the jam, especially as it thickens. The long handle helps keep your hands safe from splattering hot jam.
- Candy Thermometer (Highly Recommended): This is arguably the most important tool for achieving the perfect jam consistency. A thermometer allows you to accurately check the jam’s setting point, ensuring it reaches the correct temperature for a good gel.
- Ladle and Funnel: These tools are invaluable for safely and neatly transferring the hot jam into your sterilized jars without making a mess or burning yourself.
- Jar Tongs or Jar Lifter: For carefully handling hot, sterilized jars and placing them into boiling water if doing a water bath can, minimizing risk of burns and contamination.
- Clean Towels: For drying jars and wiping rims clean before sealing.
Step-by-Step Guide to Crafting Your Own Delicious Strawberry Jam
Follow these detailed instructions carefully to create a beautiful, flavorful batch of homemade strawberry jam that will be the highlight of your pantry. Precision and attention to detail are your best allies in jam-making.
- Sterilize Your Jars: Begin by preparing your canning jars. Wash them thoroughly in hot, soapy water, then rinse them completely. Place the clean jars in a large pot, cover them entirely with water, and bring the water to a rolling boil for at least 10 minutes. This sterilization process is crucial for preventing bacterial growth and ensuring a long, safe shelf life for your jam. Carefully remove the hot jars using tongs and let them air dry completely on a clean kitchen towel or paper towels.
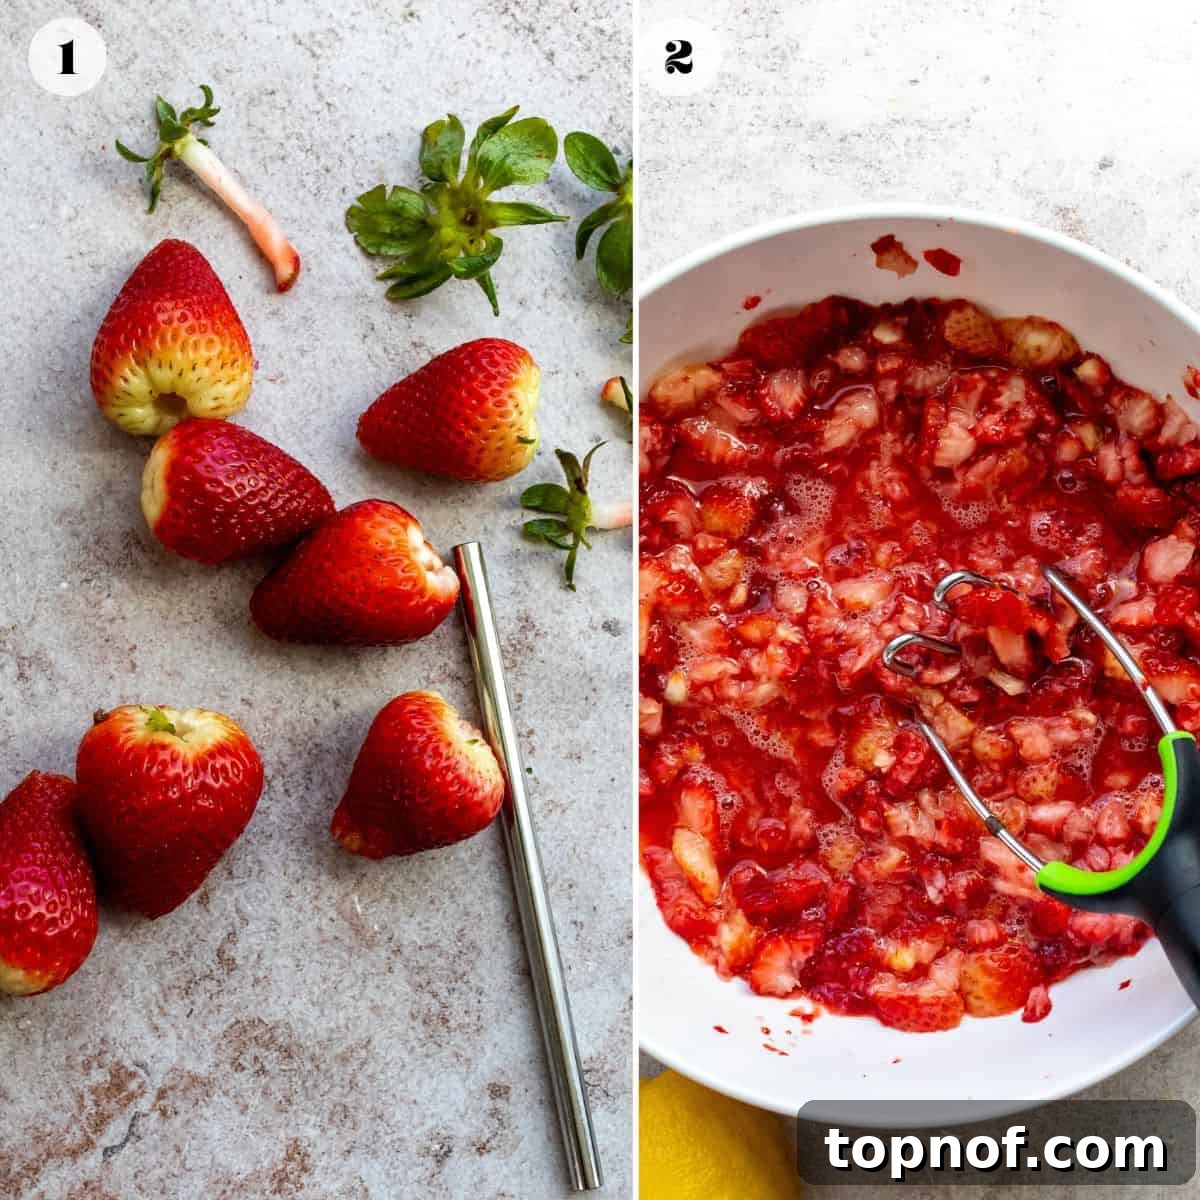
- Prepare the Strawberries: While your jars are sterilizing, hull the fresh strawberries. This involves removing their green tops and any hard white core. A clever and efficient method is to use a metal straw: simply insert it through the pointed bottom of the strawberry and push upwards – it will neatly remove the stem and leaves with minimal waste of the delicious fruit.
- Mash the Berries: Transfer the hulled strawberries into a wide, sturdy bowl. Using a potato masher or a large fork, crush the strawberries thoroughly. You have control over the texture here: mash them well for a smoother jam, or leave some small chunks for added texture and a more rustic, homemade feel. I often prefer a slightly chunky jam myself!
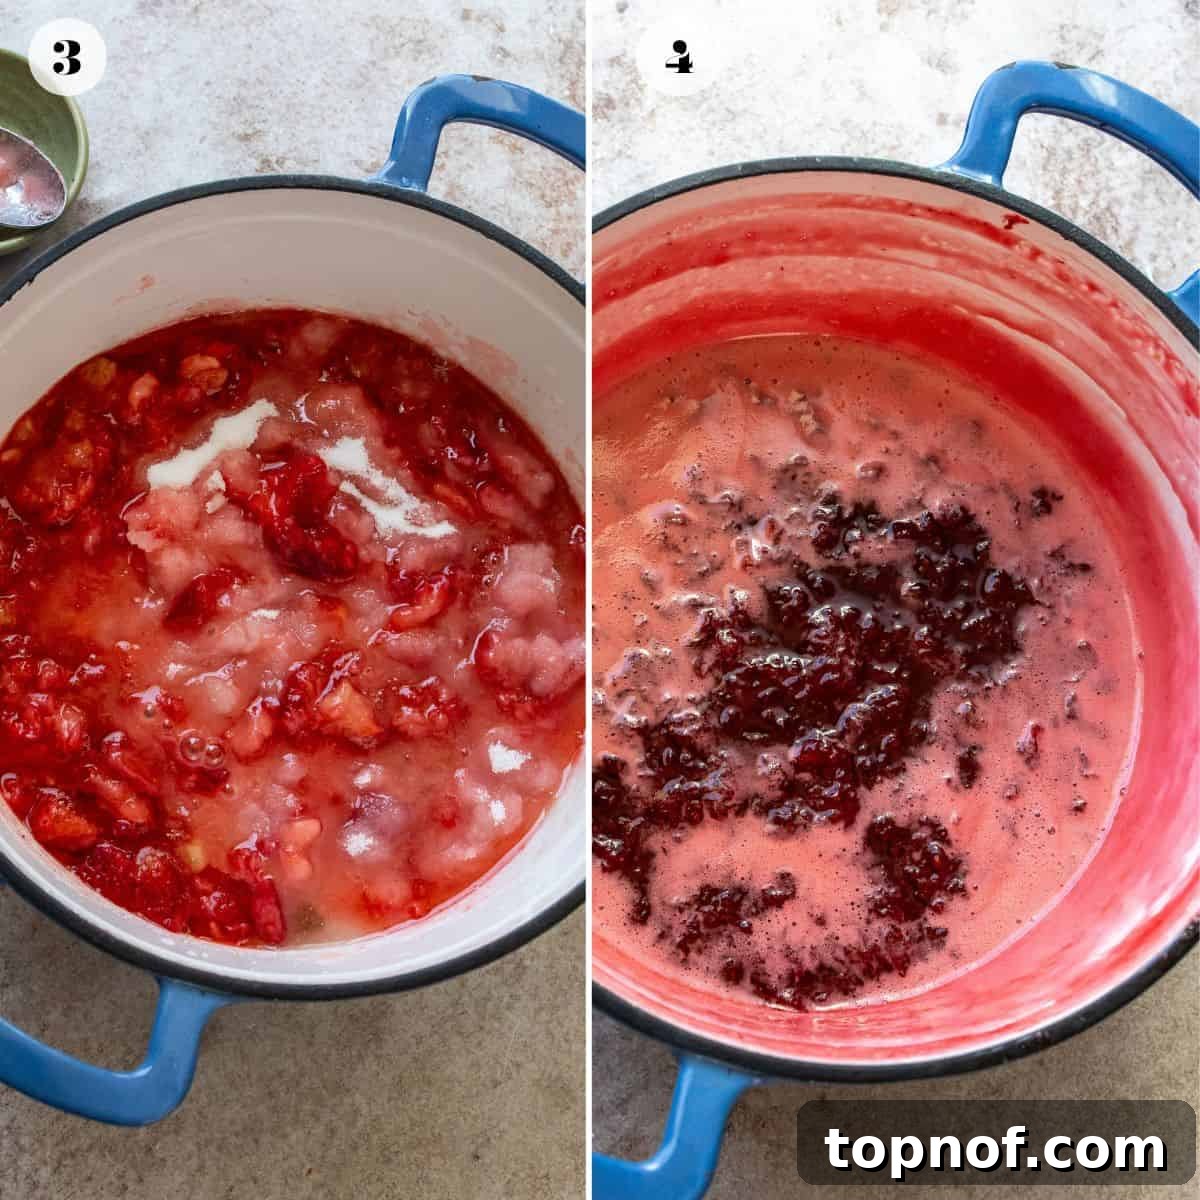
- Combine Ingredients: In your heavy-bottomed saucepan or Dutch oven, combine the mashed strawberries, granulated white sugar, and fresh lemon juice. If you’re using cardamom to enhance the flavor, add it at this stage. Stir the mixture gently but consistently over low heat until all the sugar has completely dissolved. This crucial step prevents sugar crystallization in the finished jam.
- Bring to a Rolling Boil: Increase the heat to high and bring the strawberry mixture to a full, vigorous rolling boil. A “rolling boil” means the mixture is bubbling intensely and continuously, even when stirred. Maintain this boil, stirring frequently to prevent the jam from sticking to the bottom of the pot and potentially scorching, which can impart an undesirable flavor.
- Achieve Setting Point: Continue boiling and stirring until the mixture reaches a temperature of 200°F (93°C) on a candy thermometer. This process typically takes about 25-35 minutes, during which you will notice the volume of the jam visibly reduce to roughly half of what you started with as the water evaporates and the mixture thickens. The jam will appear glossy and cling to the back of a spoon. For an extra assurance, perform the “cold plate test”: chill a small plate in the freezer for a few minutes. Drop a teaspoon of hot jam onto the cold plate, let it sit for 30 seconds, then push it gently with your finger. If the surface wrinkles, your jam is perfectly ready to set!
- Jar the Hot Jam: Immediately and carefully transfer the hot jam into your pre-sterilized, still-hot jars. Fill them to within ¼ inch (0.6 cm) of the top. Wipe the rims clean with a damp cloth to ensure a proper seal. Place the lids on tightly, followed by the screw rings, tightening them to fingertip-tight.
- Cool and Store: Allow the filled jars to cool completely at room temperature for about 30 minutes before transferring them to the refrigerator. As the jars cool, you’ll often hear a satisfying “pop” sound as the vacuum seal forms – this is a good sign of successful canning! Once completely cooled and sealed, store your jam in a cool, dark pantry or cupboard for up to a year. Once a jar is opened, make sure to refrigerate it, where it will remain fresh for up to 3 months.
Delightful Ways to Enjoy Your Homemade Strawberry Jam
The beauty of homemade strawberry jam lies in its incredible versatility. Beyond the perennial classic pairing with toast, there are countless delicious ways to incorporate this sweet, fruity preserve into your daily meals and special treats:
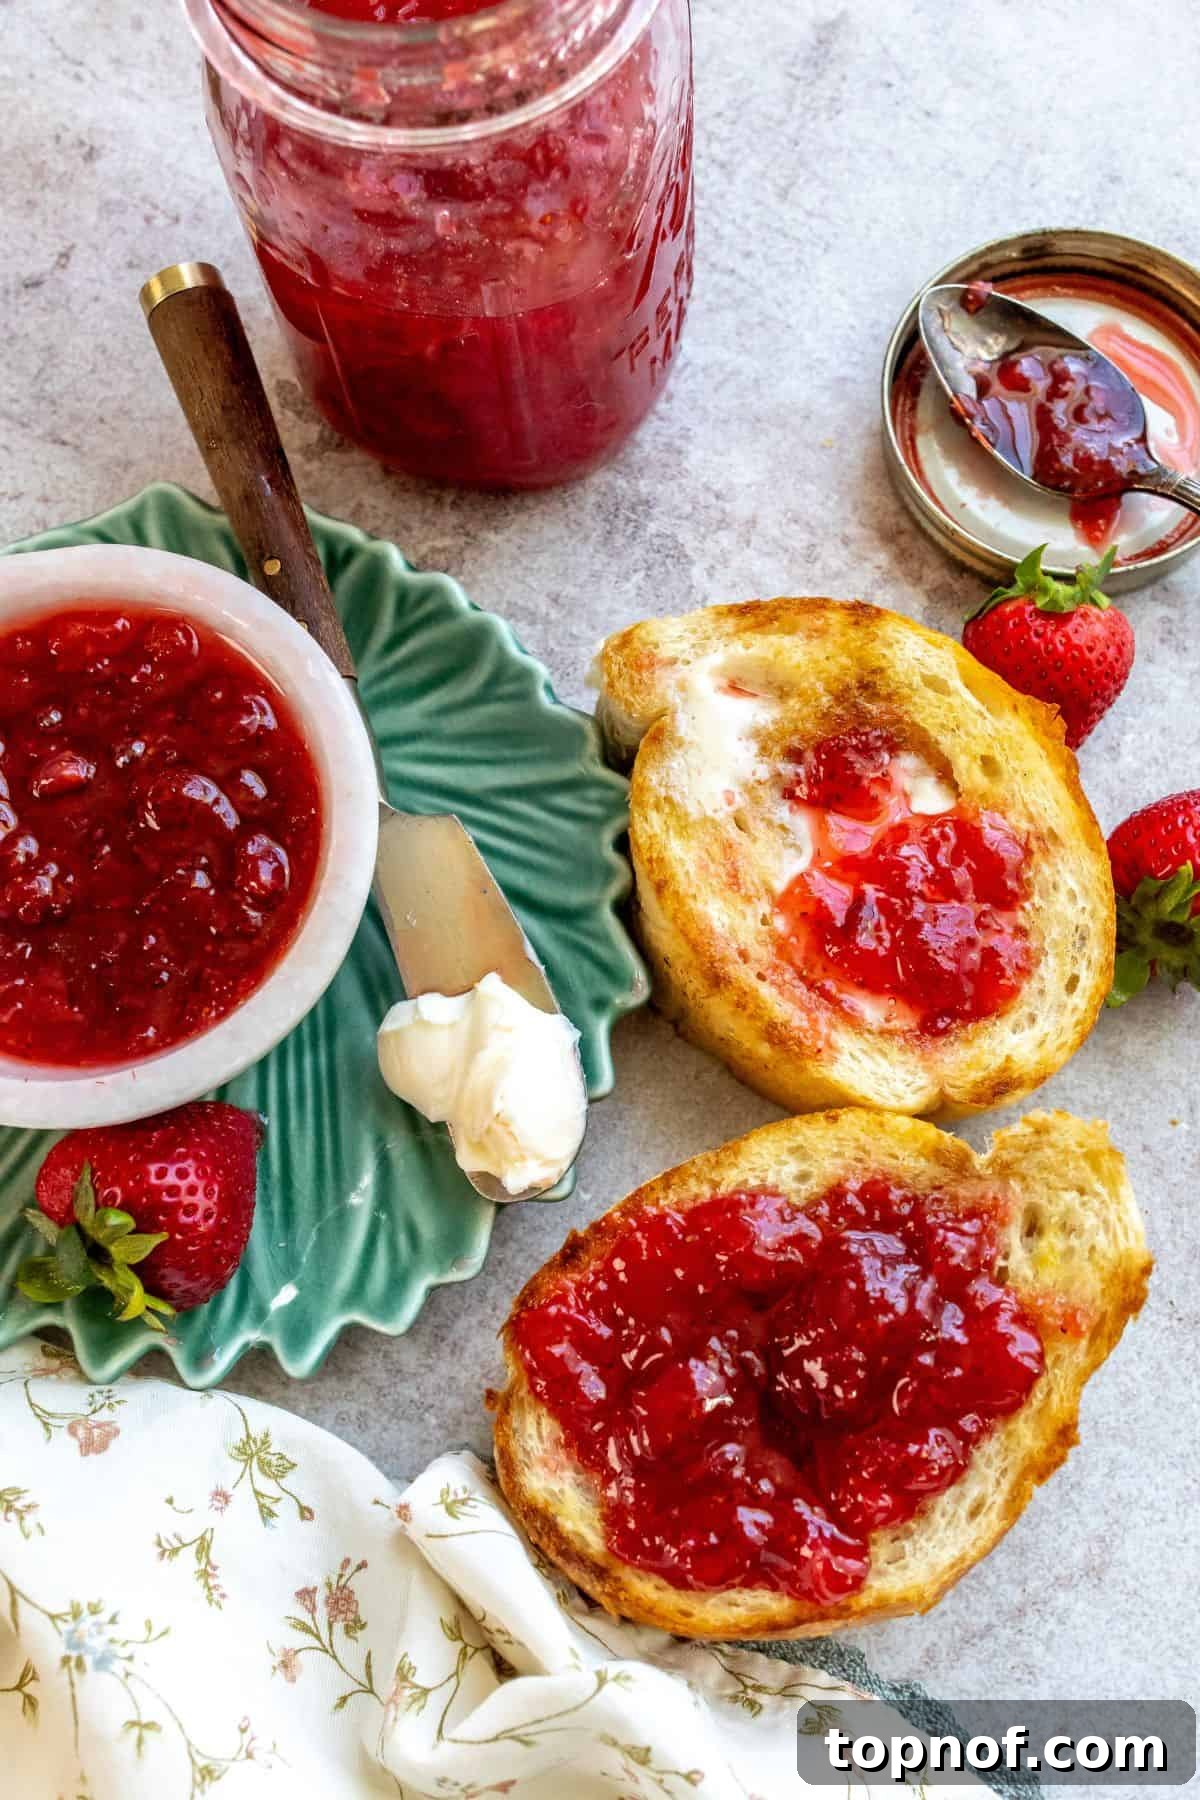
- Classic Breakfast Spreads: This is arguably the most beloved way to enjoy jam! Generously spread your homemade strawberry jam on warm, crusty toast, fluffy biscuits, freshly baked muffins (especially these irresistible strawberry yogurt muffins), a slice of soft homemade bread, or toasted bagels. It’s also absolutely heavenly drizzled over stacks of warm pancakes or waffles for an elevated breakfast experience.
- The Perfect Peanut Butter & Jam Sandwich: Elevate your childhood favorite to new heights! A sandwich crafted with creamy peanut butter and your fresh, vibrant homemade strawberry jam is an unbeatable combination that tastes even better than you remember, offering a burst of natural fruitiness.
- Decadent Dessert Topping & Baking Ingredient: Strawberry jam truly shines when incorporated into desserts. Use it as a beautiful and flavorful topping for creamy cheesecakes, delicate panna cotta, or a simple scoop of premium vanilla ice cream. It’s also a fantastic ingredient for baking, creating delectable jam thumbprint cookies, layered cakes, vibrant tarts, or sweet pastries.
- Yogurt & Oatmeal Swirl: For a quick and nutritious boost, stir a spoonful or two of your homemade jam into your morning bowl of plain yogurt or hot oatmeal. It adds a wonderful burst of fruity flavor and natural sweetness, transforming a simple meal.
- Savory Pairings: Don’t limit the magic of jam to just sweet dishes! Strawberry jam can be surprisingly delicious with savory items. Consider pairing it with a robust cheese board, using it as a unique glaze for roasted pork or chicken, or even whisking it into a vinaigrette for a distinctive salad dressing.
- Straight from the Jar: Let’s be honest, sometimes the simplest pleasures are the best. There’s absolutely no shame in enjoying a spoonful (or two!) of this glorious homemade jam straight from the jar. It’s a testament to its irresistible flavor!
Expert Tips for Crafting the Best Homemade Strawberry Jam
Mastering the art of jam-making is easy with a few key tips and tricks. These expert insights will help ensure your strawberry jam turns out perfect every time – beautifully set, wonderfully flavorful, and safe for long-term enjoyment.
- Sterilization is Non-Negotiable: Always, always sterilize your mason jars and their lids. Boiling them in water for at least 10 minutes and then drying them completely with a clean towel (or air-drying) is a critical step. This prevents bacterial growth and ensures your jam remains fresh and safe for long-term storage, forming a proper seal.
- Efficient Strawberry Hulling: For a quick and neat way to hull your strawberries, grab a metal straw. Insert the straw through the pointed bottom of the strawberry and push upwards – it will cleanly remove the green top and core with minimal fruit waste, saving you time and maximizing your delicious berries.
- Mash to Your Preferred Texture: Use a potato masher or a large fork to crush your strawberries. The beauty of homemade jam is customization: mash them thoroughly for a smoother jam, or leave some small chunks for added textural interest and a delightful, rustic mouthfeel. Experiment to find your favorite!
- Stir Frequently and Thoroughly: As the jam cooks and especially once it starts to thicken, stir frequently and thoroughly. This prevents the sugar and fruit from sticking to the bottom of the pot and scorching, which can ruin the flavor. A heavy-bottomed pot also greatly assists with even heat distribution.
- Don’t Overcrowd the Pot: If you’re planning to make a very large batch of jam, it’s often better to cook it in two smaller batches rather than one massive one. Overcrowding the pot can prevent the jam from reaching the proper setting temperature evenly and efficiently, leading to a thinner, unset jam.
- Skim the Foam for Clarity: As the jam boils, a layer of foam may form on top. Gently skim this foam off with a clean spoon before jarring. While harmless, skimming the foam results in a clearer, more visually appealing jam with a better texture.
- Reliable Setting Point Check (The Wrinkle Test): Beyond relying solely on a candy thermometer, the “wrinkle test” is a highly reliable way to confirm your jam has reached its setting point. Chill a small plate in the freezer for 5-10 minutes. Spoon a small amount of hot jam onto the cold plate, let it sit for 30 seconds, then push it gently with your finger. If the surface wrinkles, your jam is perfectly ready to be jarred!
Make Ahead and Storage Tips for Your Homemade Strawberry Jam
Proper storage is essential for preserving the freshness, flavor, and safety of your homemade strawberry jam, allowing you to enjoy the taste of summer for months to come. Here’s how to store your culinary creation:
- Pantry Storage (Unopened, Sealed Jars): When your homemade strawberry jam is stored in properly sterilized jars and has formed a correct vacuum seal (often indicated by the lid making a ‘popping’ sound and curving inward), it can be safely stored in a cool, dark place like a pantry or cupboard for up to one year. This method is ideal for bulk preserving and long-term enjoyment.
- Refrigeration (Opened Jars): Once a jar of jam has been opened, it breaks the vacuum seal and must be refrigerated. In the refrigerator, your jam will stay fresh and delicious for up to 3 months. Always use a clean spoon each time you retrieve jam to avoid introducing bacteria, which can hasten spoilage.
- Freezing for Extended Storage: For an even longer-term storage solution, homemade jam can be frozen! Transfer cooled jam into freezer-safe containers or jars, ensuring you leave about ½ inch of headspace at the top to allow for expansion as it freezes. Jam can be stored in the freezer for up to 6 months without significant loss of quality. Thaw the jam in the refrigerator before using.
Frequently Asked Questions About Homemade Strawberry Jam
The most reliable method is to use a candy thermometer. The jam should reach a temperature of 200-220°F (93-104°C) at a full rolling boil. Additionally, the jam will visibly reduce in volume, usually by about half of what you started with. Another excellent indicator is the “cold plate test” (detailed in the Expert Tips section): a spoonful of hot jam dropped onto a frozen plate should wrinkle when gently pushed with a finger after 30 seconds.
Yes, absolutely! Frozen strawberries work perfectly well for making homemade jam. The key is to thaw them completely in the refrigerator before you begin cooking. It’s also a good practice to drain any excess moisture that accumulates during the thawing process, as too much water can result in a thinner, less set jam.
To sterilize jars, first wash them thoroughly in hot, soapy water and rinse them very well. Then, place the clean jars in a large pot, cover them completely with water, and bring the water to a vigorous rolling boil for 10 minutes. Carefully remove the jars using clean tongs and either let them air dry on a clean surface or dry them with a fresh, clean towel just before filling them with the hot jam. Lids can be gently simmered in hot water (just below boiling) for a few minutes to soften their sealing compound.
Jam not setting is a common concern! It’s most frequently due to not reaching the correct setting temperature or insufficient acidity. Ensure you used fresh lemon juice (which activates pectin) and cooked the jam until it reached the required 200-220°F (93-104°C) and passed the wrinkle test. If your jam still doesn’t set, you can re-boil it with a bit more fresh lemon juice, or consider stirring in a small amount of commercial pectin dissolved in a little water, then bring it back to a full boil.
While it’s tempting to reduce sugar for health reasons, it’s important to understand that sugar plays a critical role in both the setting and the preservation of jam. Significantly reducing the sugar in this pectin-free recipe may result in a thinner jam that doesn’t set as well and will have a considerably shorter shelf life. If you desire a low-sugar jam, you will typically need to use a special low-sugar pectin and follow specific instructions tailored for that type of pectin to ensure proper setting and safety.
When properly prepared, sterilized, and sealed in jars, this homemade strawberry jam can be stored in a cool, dark pantry for up to 1 year. Once a jar is opened, it should be refrigerated and consumed within 3 months. For even longer storage, the jam can be frozen in freezer-safe containers for up to 6 months.
Other Delicious Strawberry Recipes You’ll Love
Dessert
Easy Gluten-Free Strawberry Cobbler
Breakfast
Strawberry Yogurt Muffins
Dessert
Strawberry Cheesecake Cookies
Dessert
Strawberry Icebox Cake