
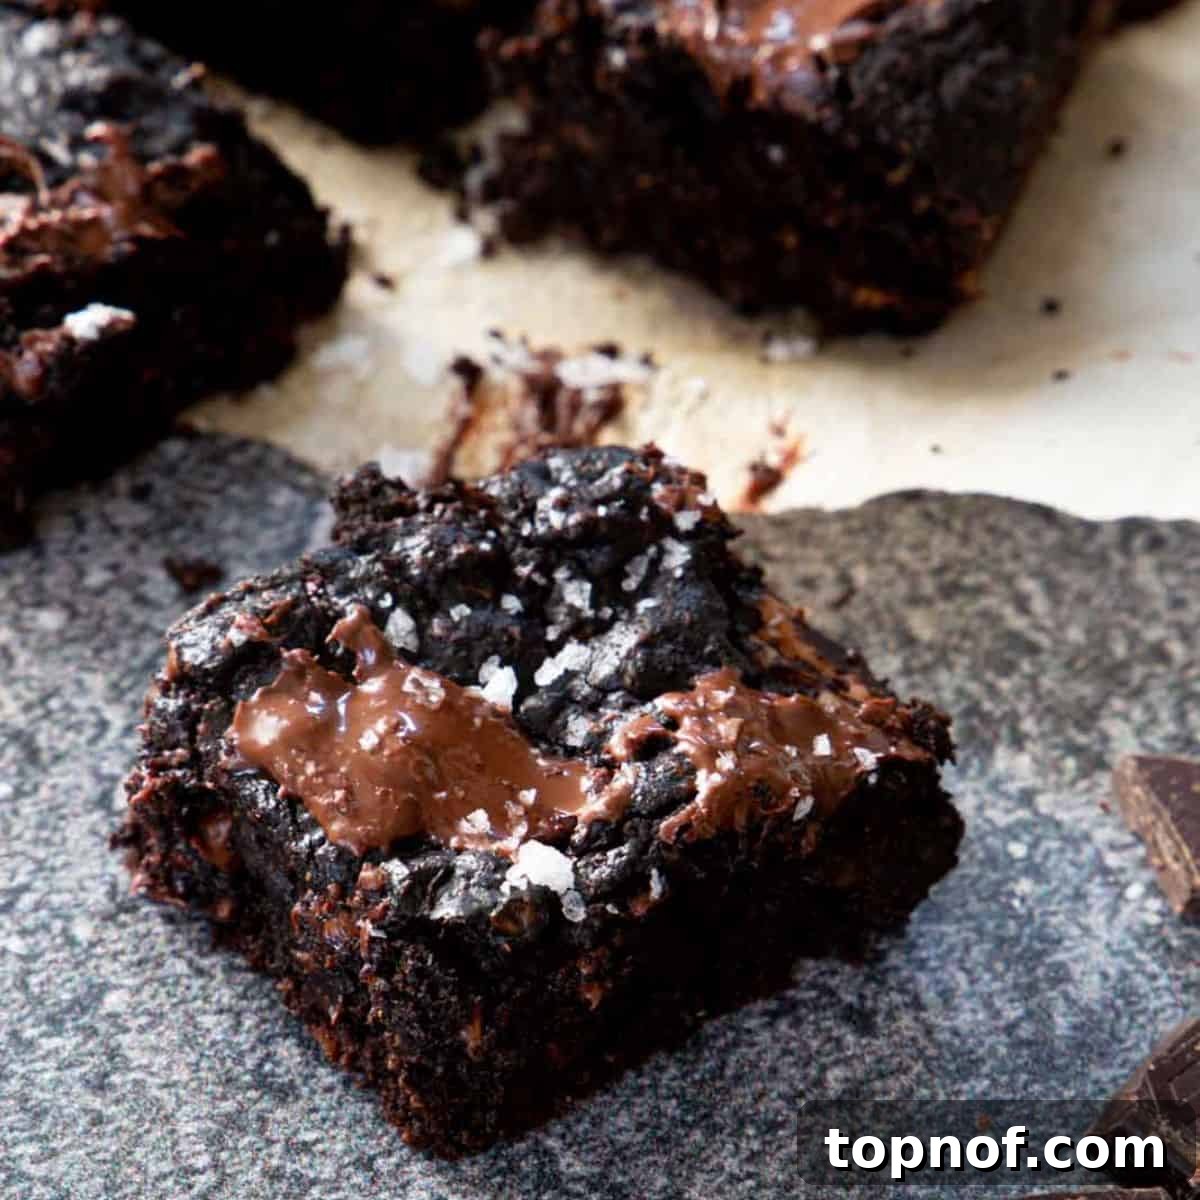
Indulge in these incredibly moist and decadent gluten-free walnut oat brownies that are not only easy to make but also completely customizable to your preferred texture. Whether you crave a rich, fudgy bite or a light, cake-like square, this recipe has you covered! Crafted with wholesome, gluten-free oat flour, these brownies offer a delightful treat for everyone, including those with dietary restrictions.
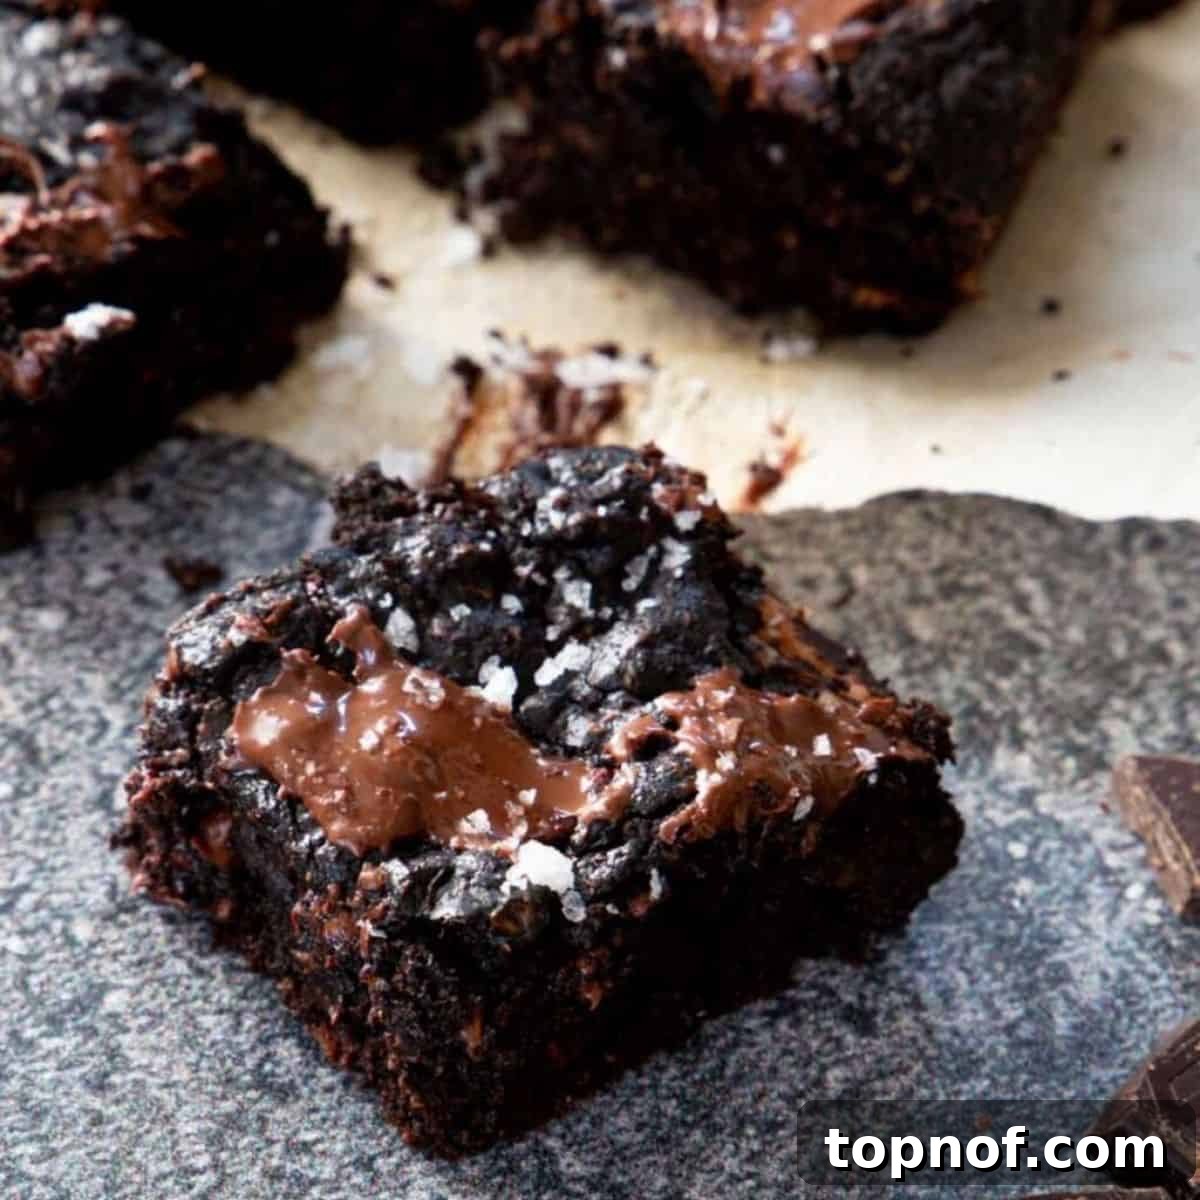
This comprehensive guide and recipe are proudly sponsored by The Quaker Oats Company. All culinary insights and opinions expressed are my own.
Why These Gluten-Free Walnut Oat Brownies Are a Must-Try
Baking delicious desserts that cater to dietary needs can sometimes feel like a challenge, but not with these gluten-free oat brownies. They stand out for several compelling reasons:
- Effortless Customization: This recipe is a fantastic canvas for your creativity. Want to add an extra layer of flavor? Incorporate chocolate chips, a hint of espresso powder, or a medley of your favorite nuts. The beauty lies in adapting it to whatever ingredients you have on hand or specific cravings you wish to satisfy. From crunchy pecans to a swirl of caramel, the possibilities are endless!
- Perfect Texture Every Time: The debate between fudgy and cake-like brownies is an age-old one, and this recipe allows you to master both! Achieving your desired consistency is surprisingly simple. We’ll reveal the secret to making these brownies intensely fudgy and gooey, or wonderfully light and cake-like, ensuring a perfect batch tailored to your preference with every bake.
- Wholesome and Accessible Ingredients: Leveraging gluten-free oat flour, this recipe makes baking accessible to those avoiding gluten without compromising on taste or texture. Oats are a fantastic whole grain, offering a nutritious base that’s both satisfying and beneficial.
- Quick and Easy Preparation: Despite being a gourmet-quality dessert, these brownies come together quickly, making them ideal for last-minute treats, potlucks, or satisfying sudden sweet cravings.
- Family-Friendly Favorite: Brownies are a universal comfort food. This gluten-free version ensures everyone at your table can enjoy a delightful dessert without worry, making it a staple for family gatherings and celebrations.
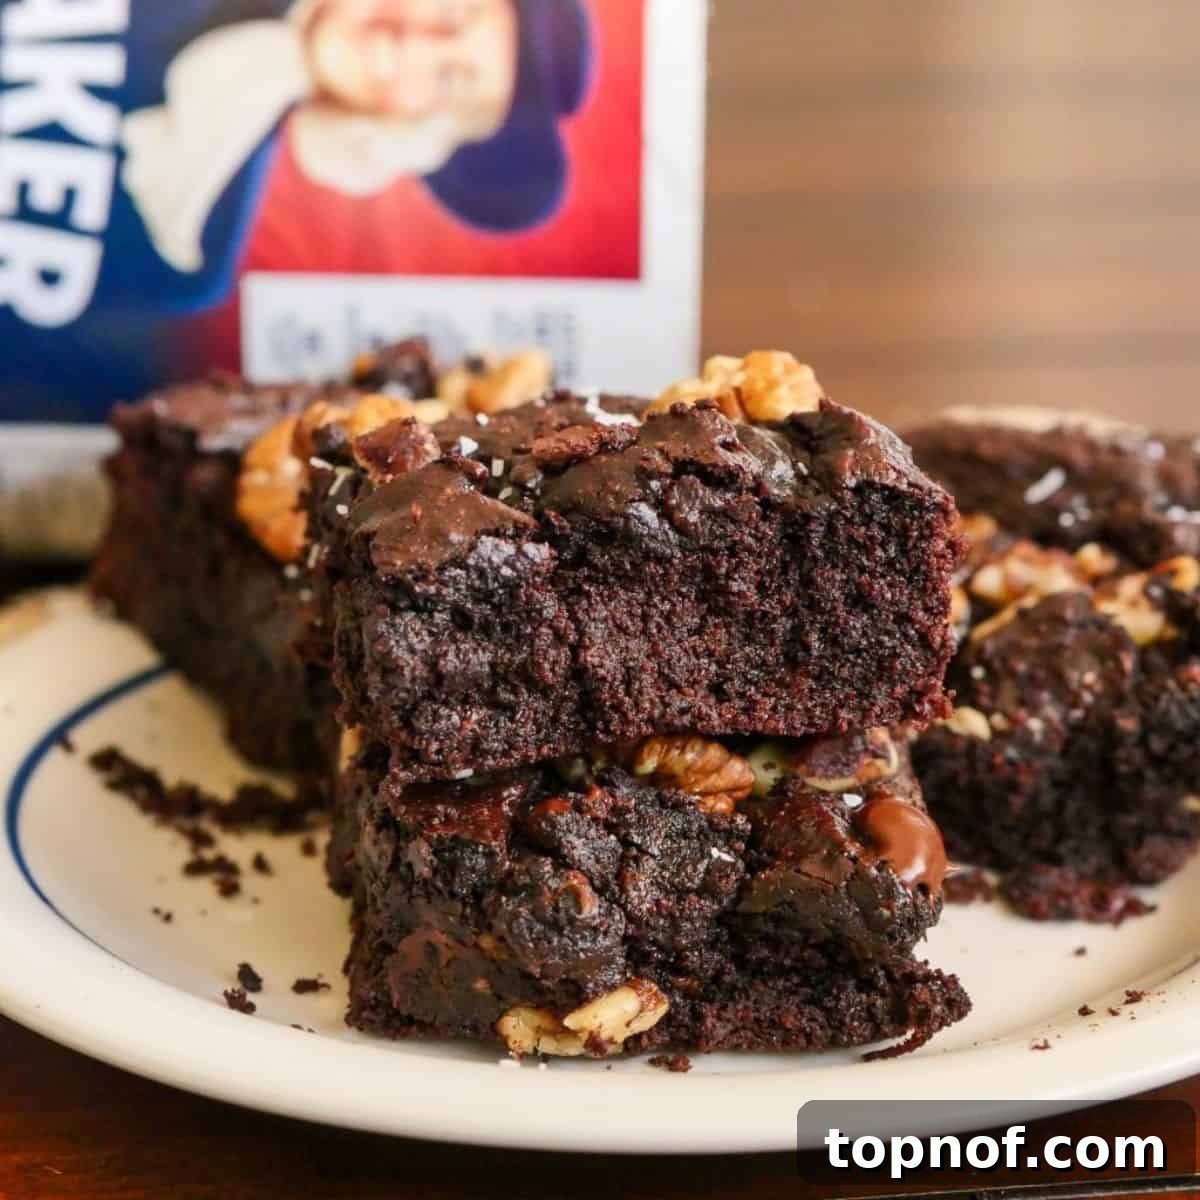
Essential Ingredients for Your Gluten-Free Brownies
Crafting these delectable brownies begins with a selection of simple yet powerful ingredients. Each component plays a crucial role in achieving the perfect balance of flavor and texture. Here’s a detailed look at what you’ll need:
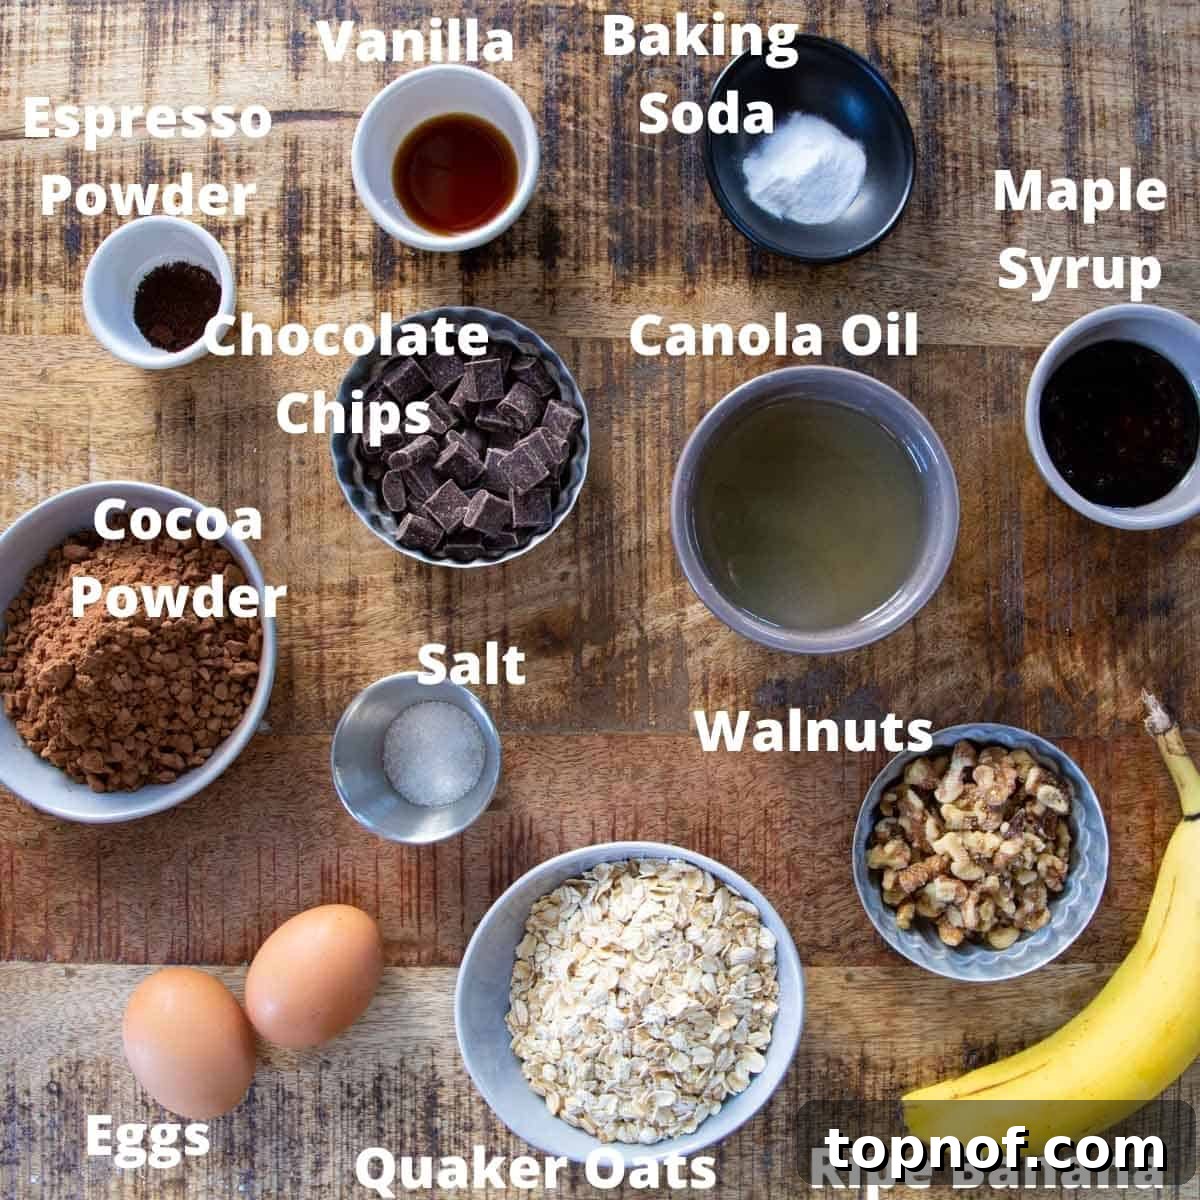
- Ripe Banana (or Applesauce): A key natural sweetener and a fantastic way to reduce the overall oil content. Ripe bananas impart a subtle fruity note and contribute to the moistness of the brownies. If bananas aren’t your preference, unsweetened applesauce makes an excellent 1:1 substitute, offering similar moisture and sweetness.
- Eggs: The number of eggs is your secret weapon for texture control!
- For an ultimate fudgy, dense, and chewy brownie, stick to two large eggs. They provide the necessary structure without making the brownies too airy.
- If you prefer a lighter, more cake-like consistency, opt for three large eggs. The extra egg introduces more air and creates a softer, fluffier crumb.
- Oil (Canola, Olive, or Coconut): Any neutral-flavored oil works well here. I often use canola oil as it’s a pantry staple for me. Extra virgin olive oil can lend a subtle, sophisticated flavor, while melted coconut oil can add a hint of tropical richness. Remember that the type of oil will affect the saturated fat content, so adjust if you are tracking specific nutritional information.
- Maple Syrup or Coconut Sugar: These natural sweeteners are perfect for this recipe. Maple syrup offers a distinct, rich flavor and liquid moisture, while coconut sugar provides a caramel-like depth and a slightly less refined option. Choose based on your taste preference and what you have available. Both will yield delicious results, though their nutritional profiles may vary slightly.
- Espresso Powder: This is an optional but highly recommended ingredient! Just a small amount of espresso powder doesn’t make your brownies taste like coffee; instead, it deeply enhances the chocolate flavor, making it richer and more profound. It’s truly a game-changer for any chocolate dessert.
- Chocolate Chips: I love using dark chocolate chips for an intense chocolate experience that balances the sweetness. However, feel free to use milk chocolate, semi-sweet, or even white chocolate chips to match your taste. Mini chips or chopped chocolate bars also work beautifully!
- Salt: Never underestimate the power of salt in baking! A small dash of salt is crucial for bringing out and intensifying all the other flavors, particularly the chocolate. It creates a balanced and well-rounded taste profile.
- Vanilla Extract: Pure vanilla extract adds warmth and depth, complementing the chocolate and banana notes beautifully. Don’t skip it!
- Cocoa Powder: Essential for that rich chocolatey flavor and deep brown color. Use unsweetened natural cocoa powder for the best results.
- Baking Soda: This leavening agent helps the brownies rise slightly, contributing to their texture.
- Walnuts: These provide a wonderful textural contrast and a nutty flavor that pairs perfectly with chocolate. If you’re not a fan of walnuts, pecans or almonds are excellent substitutes. For a nut-free option, simply omit them or replace them with sunflower seeds or pumpkin seeds for crunch.
Step-by-Step Guide: Baking Your Gluten-Free Walnut Oat Brownies
Follow these simple steps to create a batch of incredibly delicious and customizable gluten-free brownies. Precision in baking leads to perfection, so take your time and enjoy the process!
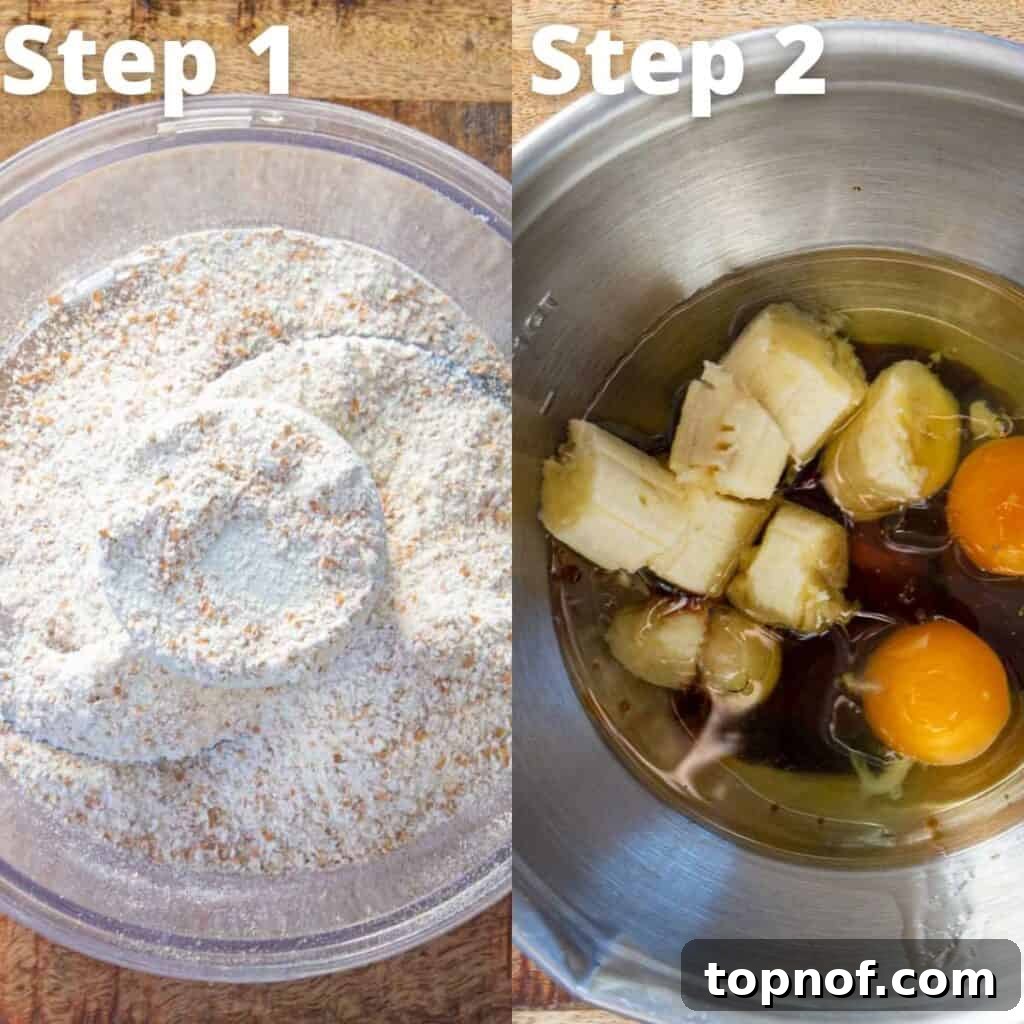
- Prepare Your Oat Flour: Begin by preheating your oven to 350°F (175°C). Next, the key to these gluten-free brownies is homemade oat flour. Place one cup of Quaker Gluten Free Oats into a food processor. Blitz the oats on high speed until they are finely ground into a smooth, flour-like consistency. You may need to pause and scrape down the sides of the food processor a couple of times with a dry spatula to ensure all the oats are uniformly ground. Once processed, set your freshly made oat flour aside.
- Combine Wet Ingredients: In a large mixing bowl, combine all your wet ingredients. Start with the chosen oil (canola, olive, or melted coconut). Add the maple syrup (or coconut sugar if using a liquid sweetener), vanilla extract, the mashed ripe banana (or applesauce), and your eggs (remember, 2 for fudgy, 3 for cake-like). Whisk these ingredients together until they are thoroughly blended and smooth.
- Mix Dry Ingredients: In a separate, medium-sized bowl, combine all the dry ingredients. This includes your freshly made oat flour, espresso powder (if using), cocoa powder, baking soda, and salt. Stir these dry ingredients together using a whisk to ensure they are well combined and there are no lumps. Finally, fold in the walnuts and chocolate chips, ensuring they are evenly coated with the flour mixture to prevent them from sinking to the bottom of the pan.
- Integrate Wet and Dry Mixtures: Gradually add the dry ingredient mixture to the wet ingredients. Mix well using either a hand mixer on low speed or a sturdy spatula. Be careful not to overmix; mix just until the ingredients are combined and no streaks of dry flour remain. Overmixing can lead to tough brownies.
- Bake to Perfection: Line an 8×8 inch baking tin with parchment paper, leaving an overhang on two sides for easy removal, or simply grease the pan thoroughly. Pour the brownie batter into the prepared tin and spread it evenly. Place the tin in your preheated oven and bake for 15 to 17 minutes. The baking time is crucial for texture:
- For fudgier brownies, bake for the shorter end of the spectrum (15 minutes), ensuring they are just cooked through, with a slight wobble in the center.
- For cake-like brownies, bake for 17 minutes, or until a toothpick inserted into the center comes out with moist crumbs attached, but not wet batter.
Once baked, allow the brownies to cool completely in the pan on a wire rack before attempting to cut them. This step is vital; cutting warm brownies can cause them to crumble and lose their desired texture. Patience will be rewarded with perfectly structured slices!
FAQs and Expert Tips for Perfect Gluten-Free Brownies
Baking can sometimes raise questions, especially when it comes to achieving specific textures or using alternative flours. Here are some frequently asked questions and expert tips to help you master these gluten-free walnut oat brownies.
Mastering Brownie Texture: Fudgy vs. Cake-Like
The texture of a brownie is a deeply personal preference. Whether you adore a dense, gooey center or a light, airy crumb, this recipe empowers you to achieve your ideal brownie:
- For the Fudgy Brownie Lover: If you’re like me and prefer your brownies intensely fudgy and chewy, stick to using two large eggs as specified in the core recipe. The key here is not to overbake them. Cook the brownies for the minimal time suggested (around 15 minutes). When a toothpick inserted into the center comes out with moist crumbs but no wet batter, they are done. They will continue to set as they cool, resulting in that desirable gooey texture. Minimal baking time ensures maximum fudginess!
- For the Cake-Like Brownie Enthusiast: If a thicker, softer, and more cake-like brownie is what you crave, simply adjust the egg count. Use three large eggs instead of two. The additional egg provides extra lift and structure, creating a lighter, more open crumb akin to a moist chocolate cake. You might bake them for a minute or two longer (closer to 17-18 minutes) to ensure they are set throughout.
Making Your Own Gluten-Free Oat Flour at Home
One of the best aspects of this recipe is the ability to easily create your own gluten-free oat flour. This not only ensures freshness but can also be more economical than purchasing pre-made specialty flours.
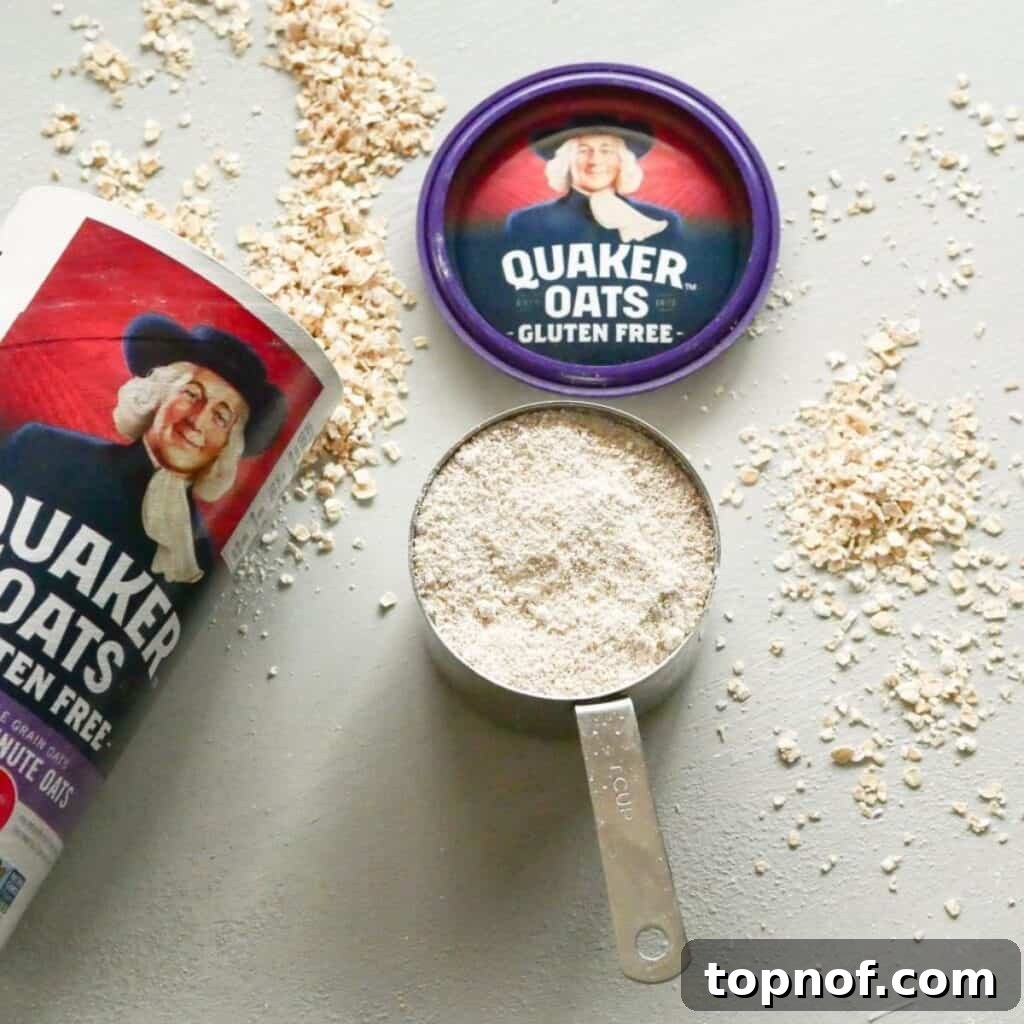
- Choose Your Oats: All you need are high-quality, certified gluten-free oats. I highly recommend Quaker® Gluten Free Quick Oats for their consistent quality and reliable gluten-free certification.
- Process with Ease: Measure out one cup of oats and add them to a high-speed blender or food processor.
- Grind to Perfection: Run the appliance on high until the oats are finely ground into a smooth, powdery flour consistency. It’s important to achieve a very fine grind to avoid a gritty texture in your brownies. You may need to stop the machine a few times and use a dry spatula to scrape down the sides, ensuring all the oat pieces are processed evenly.
The Benefits of Baking with Oat Flour
Oat flour is a fantastic choice for gluten-free baking, and here’s why:
- Naturally Gluten-Free: For those with gluten sensitivities or Celiac disease, using certified gluten-free oats is a safe and delicious alternative to traditional wheat flour.
- Nutrient-Rich: Oats are a whole grain packed with essential vitamins and minerals, including manganese, phosphorus, magnesium, copper, iron, and zinc. They are also a good source of soluble fiber, specifically beta-glucan, which is known to support heart health and help regulate blood sugar levels. Quaker Gluten Free Quick Oats, for example, offer a good source of vitamins and minerals, along with two grams of soluble fiber per half cup serving.
- Versatility in Baking: Oats are incredibly versatile! They can be used in a myriad of recipes, from sweet treats like these brownies and cookies to savory dishes and breakfast staples like overnight oats and granola. They add a hearty, wholesome texture and a subtle, pleasant flavor.
- Cost-Effective: Purchasing pre-packaged gluten-free flour blends can be quite expensive. Making your own oat flour at home is a simple, budget-friendly solution that allows you to control the quality of your ingredients.
For over 140 years, Quaker has been a trusted name, helping people incorporate nutritious whole grains into their diets. Their commitment to quality makes them my go-to choice for creating wholesome and delicious recipes like these gluten-free brownies.

Additional Tips for Success:
- Cool Completely: Resist the urge to cut into warm brownies! Cooling them entirely allows them to set properly, preventing crumbling and ensuring clean slices.
- Storage: Store cooled brownies in an airtight container at room temperature for up to 3-4 days, or in the refrigerator for up to a week. For longer storage, freeze individual brownies wrapped tightly in plastic wrap for up to 2-3 months. Thaw at room temperature.
- Ingredient Quality: Always use fresh ingredients. Check the freshness of your baking soda and ensure your eggs are at room temperature for better emulsion with other ingredients.
- Don’t Overmix: Mix the wet and dry ingredients just until combined. Overmixing develops gluten (even in oat flour, to a small extent) and can result in tough, less tender brownies.
Explore More Delicious Gluten-Free Recipes
If you enjoyed these delightful gluten-free walnut oat brownies, you’re in for a treat! Discover more wholesome and satisfying recipes that are perfect for any occasion:
- Classic Gluten-Free Walnut Brownies
- Easy Gluten-Free Peanut Butter Brownies
- Vegan Peanut Butter Cookies
- Gluten-Free Banana Chocolate Chip Muffins
- Wholesome Peach Pie Overnight Oats
I hope you absolutely adore this recipe as much as I do! Your feedback means the world, so please leave a comment below with your thoughts. For even more inspiring recipes designed to nourish your body and soul, make sure to follow me on Instagram and Pinterest. Thank you for being a part of this delicious journey!
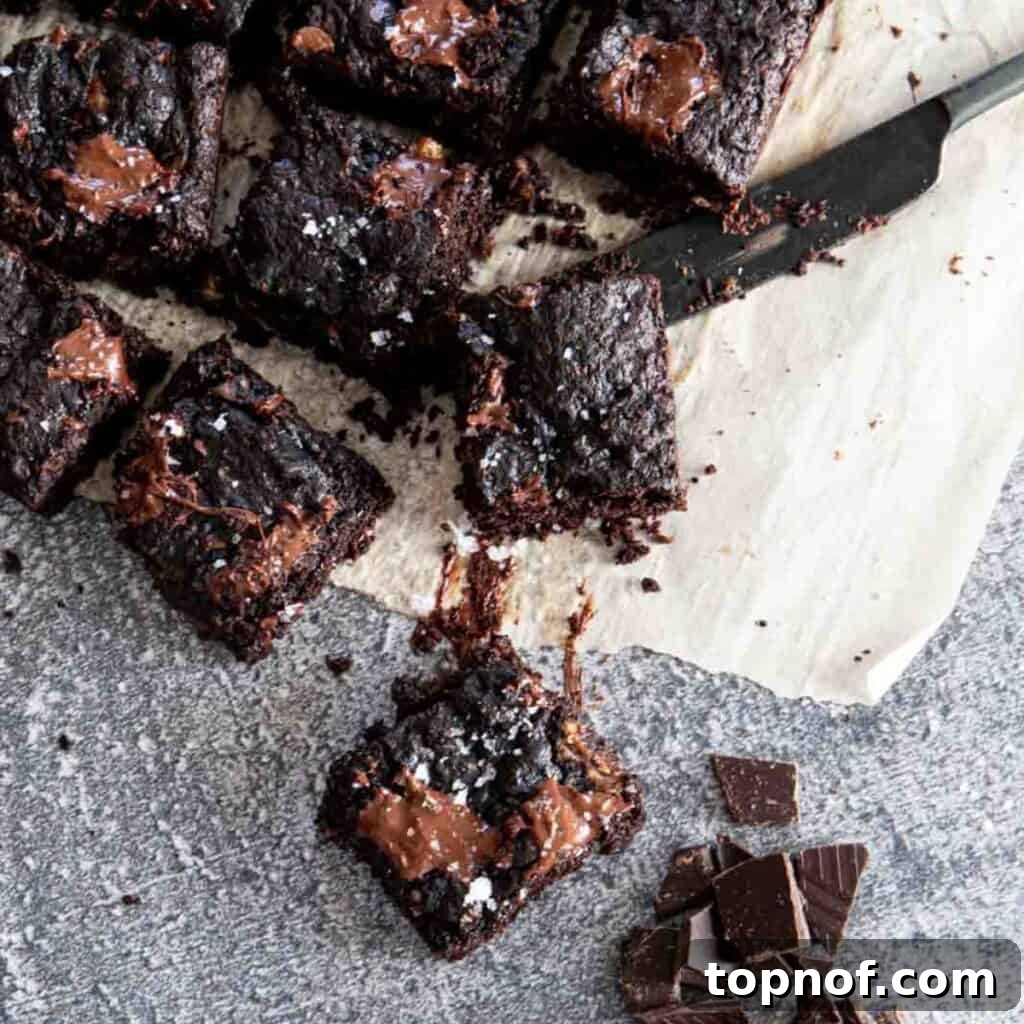
Gluten-Free Walnut Brownies
These brownies can be made more fudgy or cake-like depending on your preference. They are made with gluten-free oat flour and are just as easy as they are delicious!
Equipment
- 8×8 baking pan
Ingredients
- 1 cup ground oat flour (made from Quaker gluten-free oats)
- ¼ cup applesauce or ripe banana (mashed)
- ½ cup canola oil (or olive oil, coconut oil)
- ¾ cup maple syrup (or coconut sugar)
- ½ tsp espresso powder (optional, but recommended)
- 1 cup cocoa powder (unsweetened)
- 1 tsp baking soda
- 1 tsp salt
- 1 Tbsp vanilla extract
- 2 large eggs (use 3 if you prefer a cake consistency)
- ½ cup dark chocolate chips (or any chocolate chips)
- ¼ cup walnuts (chopped, optional, or substitute with other nuts/seeds)
Instructions
- Set oven to 350°F (175°C). Place Quaker Gluten Free Oats in a food processor and blend until a fine flour consistency is achieved. Set aside.
- Combine all the wet ingredients in a large bowl. Start with the oil, then add maple syrup (or sugar), vanilla extract, mashed banana (or applesauce), and eggs. Whisk well until smooth.
- Combine all dry ingredients in a medium bowl: oat flour, espresso powder, cocoa powder, baking soda, salt, walnuts, and chocolate chips. Mix well with a whisk. Add the dry ingredients slowly into the wet ingredients and mix thoroughly with a hand mixer or spatula until just combined. Do not overmix.
- Line an 8×8 inch pan with parchment paper or grease it. Pour the brownie mixture into the pan and spread evenly. Place in the oven and bake for 15 to 17 minutes (the longer they cook, the less fudgy they will be). Let the brownies cool completely before cutting; otherwise, they may crumble.
Notes
You can adjust the texture of the brownies based on your personal preference. Use three eggs for a thicker, cake-like brownie, and two for a fudgy, gooey brownie. For extra fudginess, slightly underbake them.
Nutrition
Serving: 12g | Calories: 213kcal | Carbohydrates: 22g | Protein: 2g | Fat: 14g | Saturated Fat: 4g | Cholesterol: 1mg | Sodium: 310mg | Potassium: 213mg | Fiber: 3g | Sugar: 15g | Calcium: 56mg | Iron: 1mg
Nutrition information is automatically calculated, so should only be used as an approximation.
Additional Info
Like this recipe? We’d love to hear from you! Please leave a comment below to share your experience and feedback.