
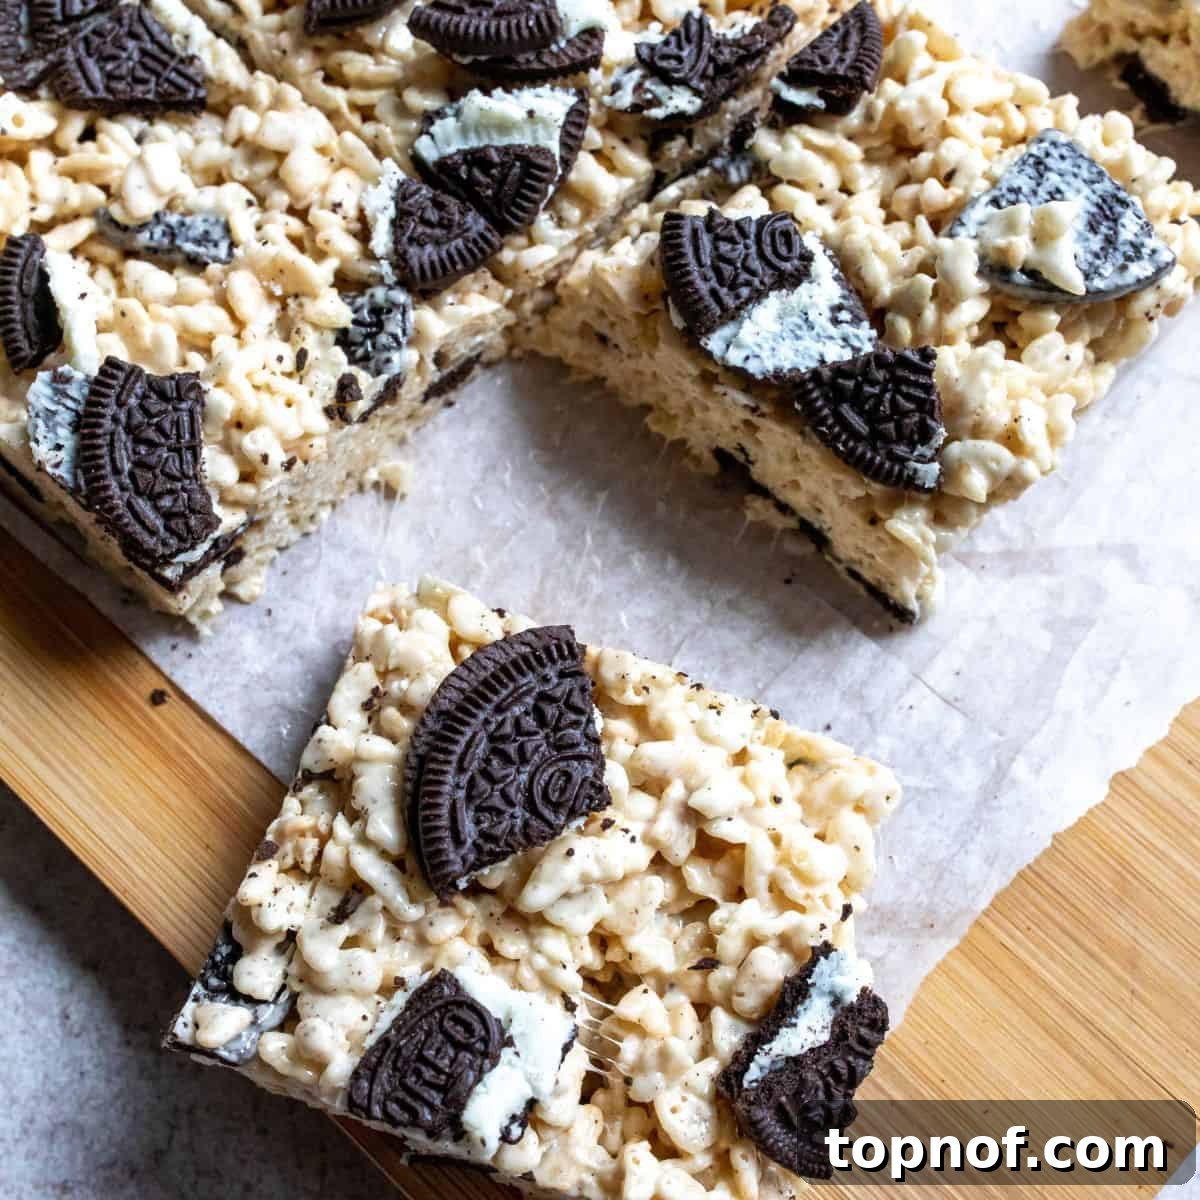
Elevate a childhood classic with an irresistible twist: Cookies and Cream Rice Krispie Treats! These delightful confections take the beloved, chewy goodness of traditional Rice Krispie treats and infuse them with the iconic flavor of chocolate sandwich cookies. They’re incredibly simple to make, highly customizable (yes, they can even be made vegan!), and guaranteed to be a crowd-pleaser for both family and friends. Best of all, this impressive dessert is ready in under 20 minutes, making it the perfect last-minute treat or a delightful addition to any gathering.
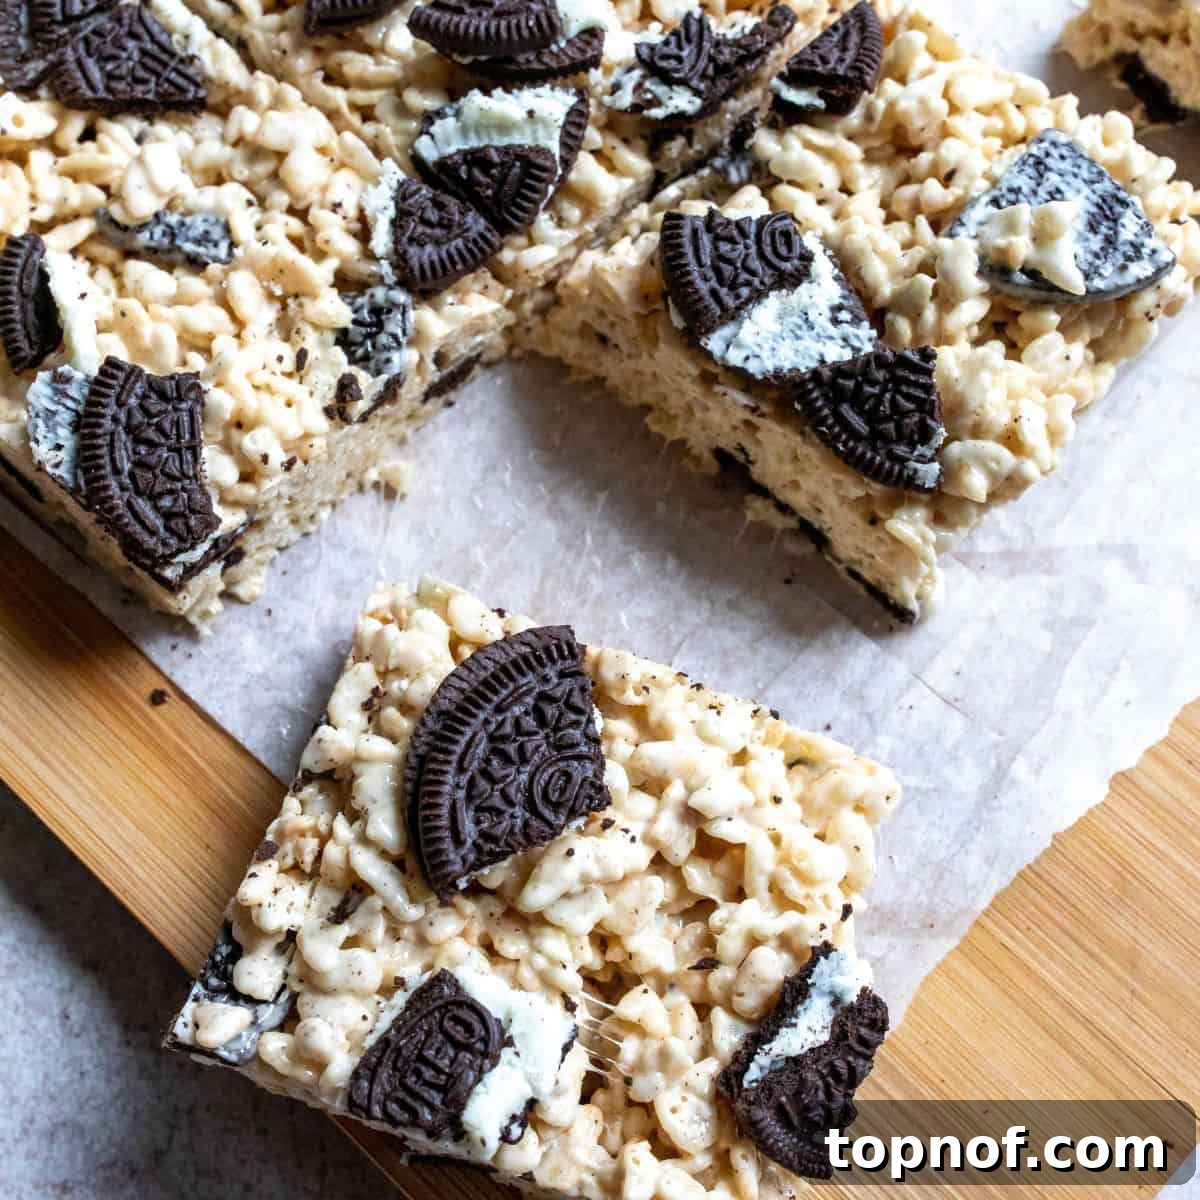
Table of Contents
- Why You Need To Make Cookies and Cream Rice Krispies
- Essential Ingredients for Success
- Step-by-Step Guide to Making These Treats
- Recipe FAQs & Troubleshooting Tips
- Variations and Serving Suggestions
- Other Delicious Recipes To Try
Why You Need To Make Cookies and Cream Rice Krispies
Who doesn’t adore a classic, chewy rice krispie treat? It’s a nostalgic favorite that instantly brings smiles. Now, imagine taking that beloved recipe and elevating it to a whole new level of deliciousness by incorporating the rich, chocolatey goodness of Oreo cookies. That’s exactly what you get with these incredible Cookies and Cream Rice Krispie Treats!
These aren’t just any ordinary treats; they’re a symphony of textures and flavors. The crispy cereal, gooey marshmallow, and crunchy bits of chocolate cookie create an experience that’s both familiar and excitingly new. While they boast a sophisticated, gourmet look, they are astonishingly simple to whip up, requiring minimal effort and no baking whatsoever. This makes them the ultimate stress-free dessert for any occasion, from casual family nights to elaborate holiday parties.
They are a guaranteed crowd-pleaser, appealing to all ages with their universally loved combination of cookies and cream. What’s more, this recipe is incredibly versatile and can easily be adapted to suit dietary needs, including a fantastic vegan option. The treats keep exceptionally well in the refrigerator, allowing you to prepare them a day or two in advance. This make-ahead convenience is a game-changer, making them the ultimate entertaining treat that saves you precious time when hosting.
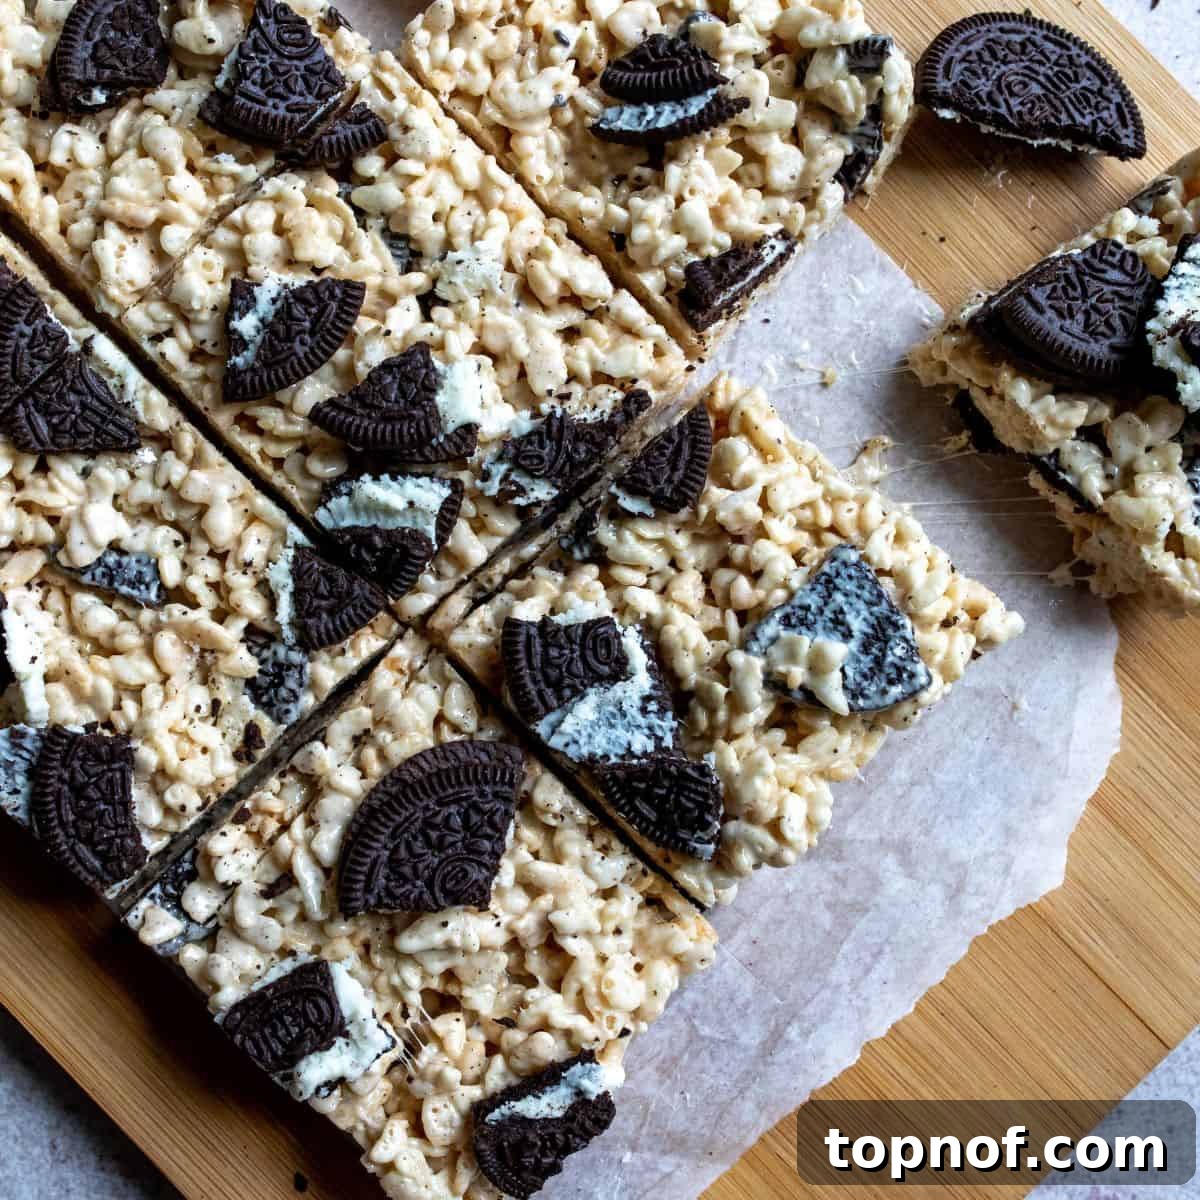
Beyond their ease and deliciousness, these treats offer a satisfying balance of sweet and salty, with a delightful chewiness that’s hard to resist. The contrast of the white marshmallow base with the dark cookie crumbs also gives them a visually appealing marble effect, making them look as good as they taste. Prepare to impress everyone with this simple yet spectacular dessert!
Essential Ingredients for Success
Crafting the perfect batch of Cookies and Cream Rice Krispie Treats requires just a handful of readily available ingredients. Each component plays a crucial role in achieving that ideal texture and flavor profile. Here’s what you’ll need to gather:
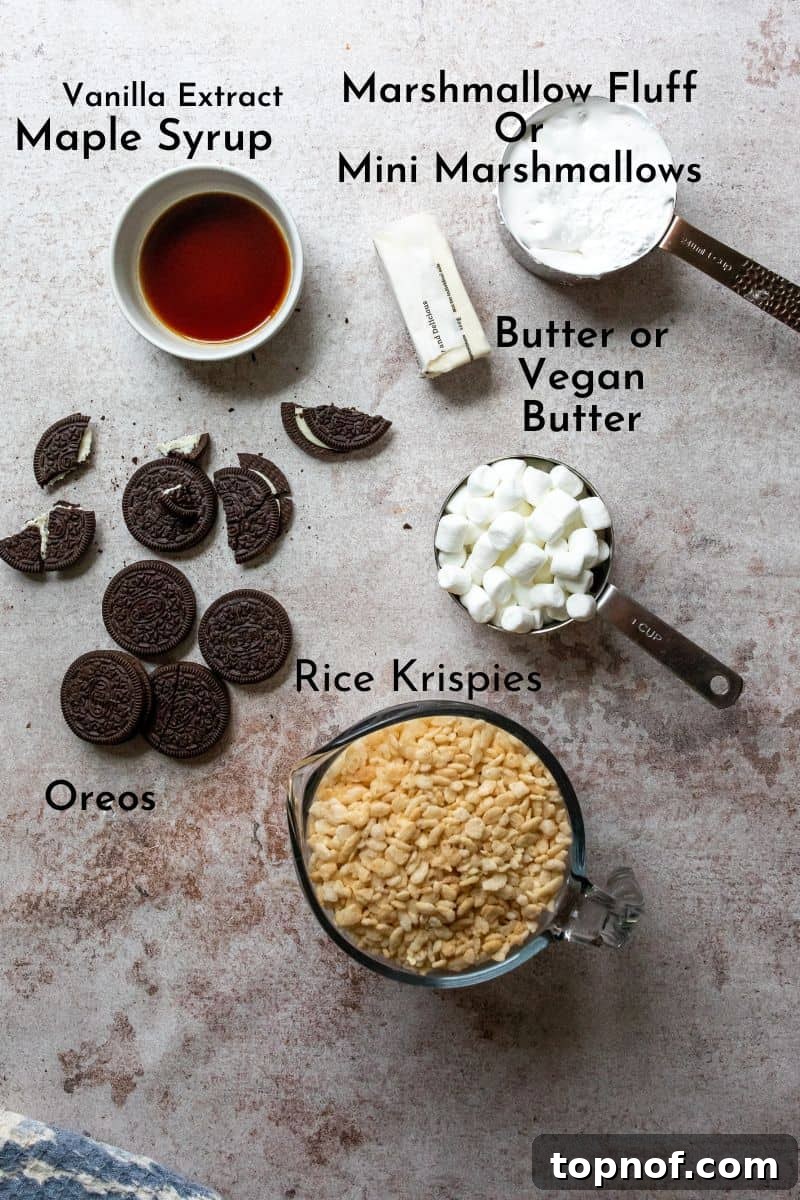
- Mini Marshmallows: The backbone of any good Rice Krispie treat! Mini marshmallows melt more quickly and evenly than their larger counterparts, ensuring a smooth, gooey base. Alternatively, you can use marshmallow fluff (about 2.5 cups for this recipe) for an even creamier consistency. For a vegan version, ensure you choose plant-based marshmallows, which are now widely available.
- Rice Krispie Cereal: The classic crispy cereal provides the signature crunch. While Kellogg’s Rice Krispies are the original, any similar puffed rice cereal brand will work just as well. Make sure it’s fresh to guarantee maximum crispiness!
- Salted Butter: Butter adds a rich, luscious flavor and helps bind the mixture together. The touch of salt in salted butter beautifully balances the sweetness of the marshmallows and cookies. If using unsalted butter, you might want to add a tiny pinch of salt (about 1/4 teaspoon) to the mixture. For a vegan adaptation, opt for a high-quality plant-based butter; most perform wonderfully in this recipe.
- Maple Syrup: Just a small amount of maple syrup enhances the depth of flavor, adding a subtle caramel note and a bit of extra chewiness. It also contributes to the beautiful sheen of the treats.
- Vanilla Extract: A splash of good quality vanilla extract is essential for rounding out the flavors. It complements the sweetness of the marshmallow and the chocolate of the cookies, adding a warm, aromatic finish. Don’t skip it!
- Oreo Cookies: The star ingredient that transforms these treats into a cookies and cream sensation! The iconic chocolate sandwich cookies with their creamy filling are crushed and folded into the mixture, providing bursts of chocolatey flavor and delightful crunch. If Oreos aren’t available, any similar chocolate sandwich cookie will be a suitable substitute.
Having all your ingredients measured and ready before you start will make the process even smoother and faster!
Step-by-Step Guide to Making These Treats
Creating these heavenly Cookies and Cream Rice Krispie Treats is an incredibly straightforward process. Follow these simple steps for a perfect batch every time:
Step One: Melt the Gooey Base
Begin by selecting a large, heavy-bottomed pot, ideally a 6-quart size, to provide ample space for mixing. Place the pot on your stovetop and melt the salted butter over medium-low heat. The key here is patience; a gentle heat prevents the butter from browning too quickly and ensures an even melt. Once the butter has completely melted, add in your mini marshmallows (or marshmallow fluff). Stir continuously until the marshmallows are about halfway melted. Then, incorporate the vanilla extract and maple syrup. Continue stirring until everything has melted together into a smooth, glossy, and cohesive mixture. Immediately reduce the heat to low to prevent the marshmallow from becoming too hot and stiff.
Step Two: Integrate the Cookies and Cereal
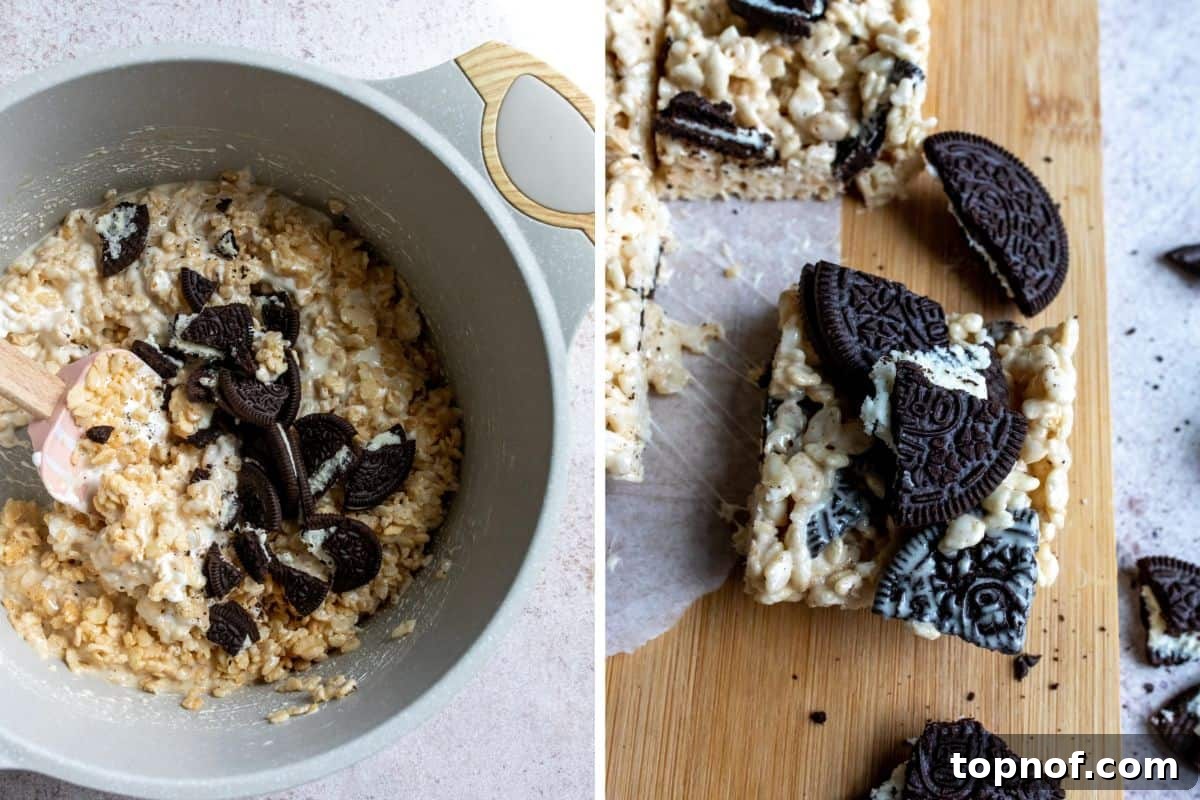
Now for the fun part! Take your Oreo cookies and crush them roughly in your hands directly over the pot. You want a mix of fine crumbs and larger chunks for varying textures throughout the treats. Alternatively, you can place them in a zip-top bag and crush them with a rolling pin. Add these crushed cookies to the warm marshmallow mixture in the pot. Mix well with a sturdy spoon or spatula until the cookie pieces are evenly distributed. Next, gently fold in the Rice Krispie cereal. Continue to mix until every single piece of cereal is coated with the sweet marshmallow and cookie goodness. It’s crucial not to overmix, as this can crush the cereal and lead to a denser, harder treat. Once combined, turn off the heat.
Step Three: Press into the Pan
Prepare a 9-inch square baking dish by lining it completely with parchment paper. This simple trick will make removing and slicing your treats incredibly easy and mess-free. Transfer the entire Rice Krispie and Oreo mixture into the prepared dish. Now, it’s time to gently press the mixture down so it reaches every corner and forms an even layer. Here’s a pro tip: to prevent the sticky mixture from adhering to your hands, place a piece of plastic wrap or a second sheet of parchment paper over the top of the mixture before pressing. You can also lightly grease your hands with butter. Be careful not to press too hard; excessive compaction will result in very dense, hard-to-bite treats. A light, even pressure is all that’s needed to set them properly.
Step Four: Chill and Serve
Once the mixture is evenly pressed into the dish, pop it into the refrigerator. A chilling time of about 10 minutes is usually sufficient for the treats to firm up enough for slicing. However, you can leave them in the fridge for up to 24 hours if you’re making them ahead of time. When you’re ready to serve, lift the treats out of the pan using the parchment paper. Place them on a cutting board and slice into squares of your desired size. For cleaner cuts, you can use a knife lightly coated with butter or cooking spray. Serve immediately and watch them disappear!
Recipe FAQs & Troubleshooting Tips
Absolutely! If you prefer the classic taste, simply omit the crushed Oreos. You’ll end up with wonderfully gooey, old-fashioned Rice Krispie treats, which are a timeless favorite in their own right.
Making these treats vegan is surprisingly simple! The main swaps involve using a plant-based butter (such as Miyoko’s Kitchen or Earth Balance) and ensuring your marshmallows are vegan-friendly. Most major brands of marshmallows contain gelatin, so look for brands specifically labeled “vegan” or “gelatin-free.” Oreos themselves are typically considered “accidentally vegan” in many regions, but always check the label to be sure.
Yes, you can use large marshmallows, but be aware that they will take a bit longer to melt down into a smooth mixture. It’s best to cut them into smaller pieces before adding them to the pot to speed up the melting process and ensure even consistency.
These Cookies and Cream Rice Krispie Treats will stay fresh and delicious in an airtight container at room temperature for up to 3 days. For extended freshness, store them in the refrigerator for up to 6 days. If you want to prepare a large batch, they can also be frozen for up to 2 months. Simply wrap individual treats tightly in plastic wrap and then place them in a freezer-safe bag or container. Thaw at room temperature for about 15-20 minutes before serving.
If your treats are too hard, you likely overcooked the marshmallows or packed them too tightly into the pan. For future batches, ensure the heat is low and you only melt the marshmallows until just combined. Also, remember to press gently, not firmly. If they’re too sticky, you might not have used enough butter, or the butter-to-marshmallow ratio was slightly off. Adding a tiny bit more butter or chilling them longer can help.
Absolutely! While Oreos are classic, feel free to experiment with other chocolate sandwich cookies or even plain chocolate wafers if you prefer. The key is to use a cookie that provides both crunch and a rich chocolate flavor to complement the marshmallow base.
Variations and Serving Suggestions
While these Cookies and Cream Rice Krispie Treats are perfect as they are, there are many ways to customize them to your liking or elevate their presentation:
- Chocolate Drizzle: For an extra touch of indulgence, melt some white chocolate or dark chocolate chips and drizzle it artistically over the cooled treats before slicing. A zigzag pattern looks especially appealing.
- Sprinkle Fun: Add some festive sprinkles to the top of the treats while they are still warm and gooey, or sprinkle them over the chocolate drizzle. This is a great way to customize them for holidays or themed parties.
- Peppermint Twist: During the holiday season, consider adding a few drops of peppermint extract to the marshmallow mixture and crushing peppermint Oreos or candy canes for a festive flavor.
- Nut Butter Boost: For a nutty twist, stir in a tablespoon or two of your favorite nut butter (peanut butter, almond butter) with the melted marshmallow mixture. This will add a deeper flavor profile and a slightly different texture.
- Serving Ideas: These treats are fantastic on their own as a simple snack or dessert. They also make excellent additions to dessert platters, bake sales, or as a sweet surprise in lunchboxes. For a truly decadent experience, serve them slightly warmed with a scoop of vanilla ice cream!
Other Delicious Recipes To Try
More Sweet Treats You’ll Love
Dessert
Strawberry Cheesecake Cookies
Dessert
Biscoff Blondies
Dessert
Strawberry Icebox Cake
Breakfast
Date Nut Loaf
If you absolutely adored this recipe, please let me know by leaving a comment below! Your feedback helps me create more delicious content. Also, be sure to follow me on Instagram and Pinterest for even more fun and wholesome recipes to nourish you from the inside out. Thank you for joining me on this culinary adventure!
Cookies and Cream Rice Krispie Treats
By Bailey Rhatigan
The only thing better than a classic rice krispie treat? Rice Krispies with Oreo cookies! These delightful no-bake treats are incredibly easy, can be made vegan, and are guaranteed to please your family and friends. Ready in under 20 minutes.
Prep Time: 5 mins
Cook Time: 15 mins
Servings: 9
Rate Recipe
Print Recipe
Ingredients
- 5 tbsp salted butter (*see notes for vegan option)
- 4 cups mini marshmallows (*see notes for marshmallow fluff option)
- 1 tsp vanilla extract
- ½ tbsp maple syrup
- 1½ cups crushed Oreo cookies (or similar chocolate sandwich cookies)
- 5 cups Rice Krispie cereal (or similar puffed rice cereal)
Instructions
- In a large pot (6 quart recommended), melt the salted butter over medium-low heat. Add the mini marshmallows (or marshmallow fluff, see notes) followed by the vanilla extract and maple syrup. Stir continuously until everything has melted into a smooth, cohesive mixture. Immediately reduce the heat to low.
- Crush the Oreo cookies by hand over the pot or in a bag with a rolling pin, creating a mix of fine crumbs and small chunks. Add the crushed cookies to the marshmallow mixture. Mix well until evenly distributed, then gently stir in the Rice Krispie cereal until every piece is coated. Turn off the heat.
- Line a 9-inch square baking dish with parchment paper, leaving an overhang on the sides for easy removal. Transfer the entire mixture into the square dish. Using a piece of plastic wrap or lightly buttered hands, gently press the mixture down evenly into all corners. Avoid pressing too hard, as this can make the treats dense and difficult to bite.
- Place the dish into the refrigerator for approximately 10 minutes, or up to 24 hours, to allow the treats to set. Once firm, use the parchment paper overhang to lift the entire slab out of the dish. Slice into squares of your desired size and serve.
Notes
- For a vegan version, use your favorite plant-based butter (like vegan butter sticks) and choose vegan marshmallows.
- If using marshmallow fluff instead of mini marshmallows, use about 2½ cups of fluff for this recipe.
- These treats will keep well in an airtight container at room temperature for up to 3 days, or in the fridge for up to 6 days.
- To freeze, wrap individual treats tightly in plastic wrap, then store in a freezer-safe bag or container for up to 2 months. Thaw at room temperature.
Nutrition (per serving, approximate)
Calories: 258kcal | Carbohydrates: 51g | Protein: 3g | Fat: 5g | Saturated Fat: 2g | Polyunsaturated Fat: 1g | Monounsaturated Fat: 3g | Trans Fat: 0.01g | Sodium: 203mg | Potassium: 86mg | Fiber: 1g | Sugar: 26g | Vitamin A: 1035IU | Vitamin C: 10mg | Calcium: 8mg | Iron: 8mg
Nutrition information is automatically calculated and should only be used as an approximation.
Additional Info
Author: Bailey Rhatigan
Prep Time: 5 minutes
Cook Time: 15 minutes
Course: Dessert
Cuisine: American
Servings: 9
Calories: 258
Keyword: 20 minute, no-bake, cookies and cream
Like this recipe? Leave a comment below!