
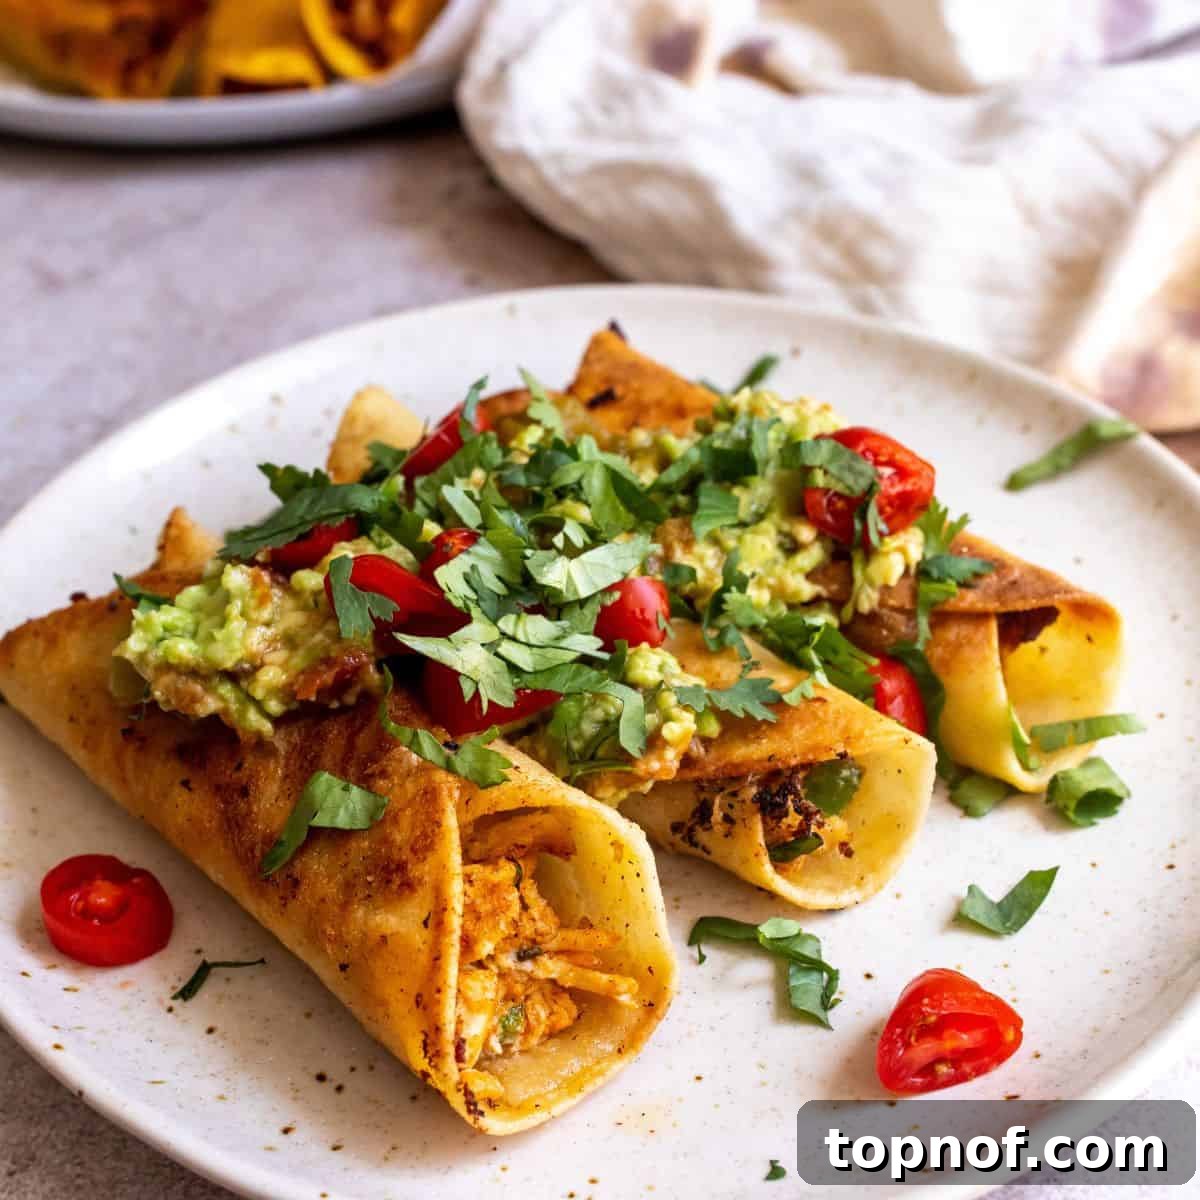
Baked Chicken Taquitos offer a delightful twist on a beloved classic. Imagine succulent, perfectly seasoned chicken enveloped in a warm, crispy tortilla – a culinary experience that’s both satisfying and surprisingly wholesome. Unlike their deep-fried counterparts, these taquitos are baked or air-fried to golden perfection, making them a healthier choice without sacrificing any of the incredible flavor or satisfying crunch. This versatile recipe is ideal for your next busy weeknight meal, a fun family dinner, or even as an impressive appetizer for guests. Whether you opt for the convenience of a store-bought rotisserie chicken or prefer to bake your own from scratch, you’re in for a treat that will quickly become a household favorite.
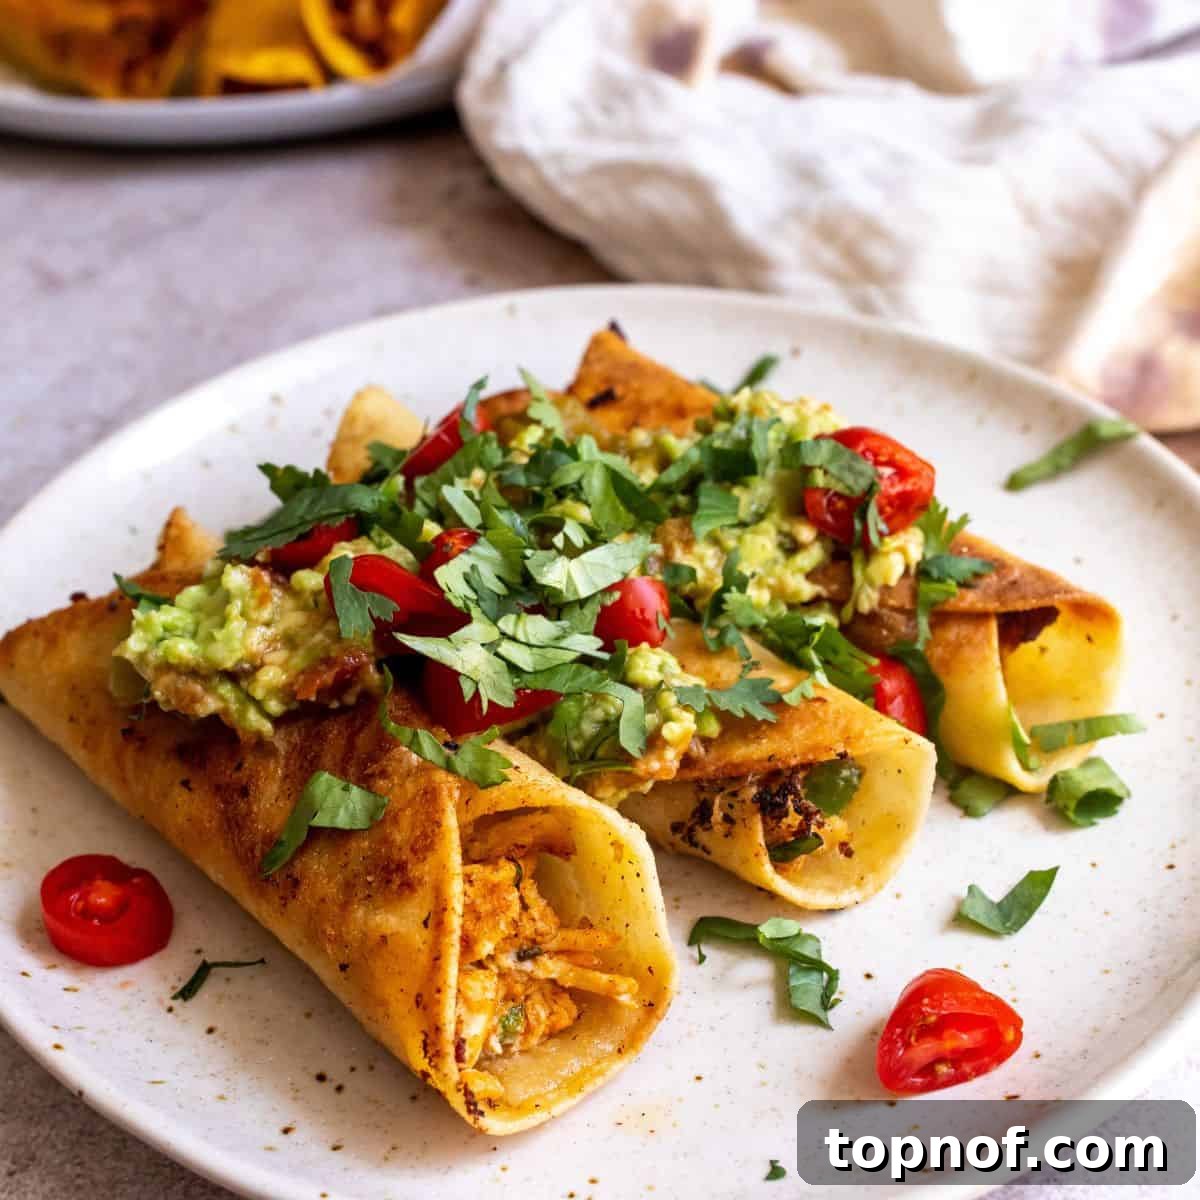
Table of Contents
- Why Choose Baked Chicken Taquitos?
- Essential Ingredients for Your Taquitos
- Step-by-Step Guide to Making Baked Taquitos
- Pro Tips and FAQs
- More Delicious Recipes to Explore
Why Choose Baked Chicken Taquitos?
There are countless reasons why these baked chicken taquitos should be at the top of your recipe list! First and foremost, they are incredibly easy to make, perfect for home cooks of all skill levels. Beyond their simplicity, they bring a vibrant, authentic flavor that’s both exciting and comforting. The convenience factor is huge – you can enjoy these for a quick weeknight dinner, as a satisfying lunch, or even as a crowd-pleasing appetizer for your next gathering. What sets this recipe apart is its healthier approach; by baking or air frying, we significantly reduce the fat content typically associated with deep-fried taquitos, making them a guilt-free indulgence.
These taquitos are not only delicious but also wonderfully versatile. You have the freedom to customize the filling with your favorite vegetables and spices, and the toppings are where you can truly unleash your creativity. From classic sour cream and guacamole to fresh salsa and shredded cheese, the possibilities are endless. This adaptability makes them a hit with both kids and adults, ensuring everyone finds something to love. They’re also excellent for meal prepping; make a large batch and store them in the freezer for quick and easy meals throughout the week. Once you try these crispy, flavorful, and healthier baked chicken taquitos, you’ll undoubtedly find yourself making them again and again!
Essential Ingredients for Your Taquitos
Creating these scrumptious taquitos begins with a selection of fresh, flavorful ingredients. Each component plays a crucial role in building the rich and satisfying taste that makes this dish so irresistible. Here’s a detailed look at what you’ll need:
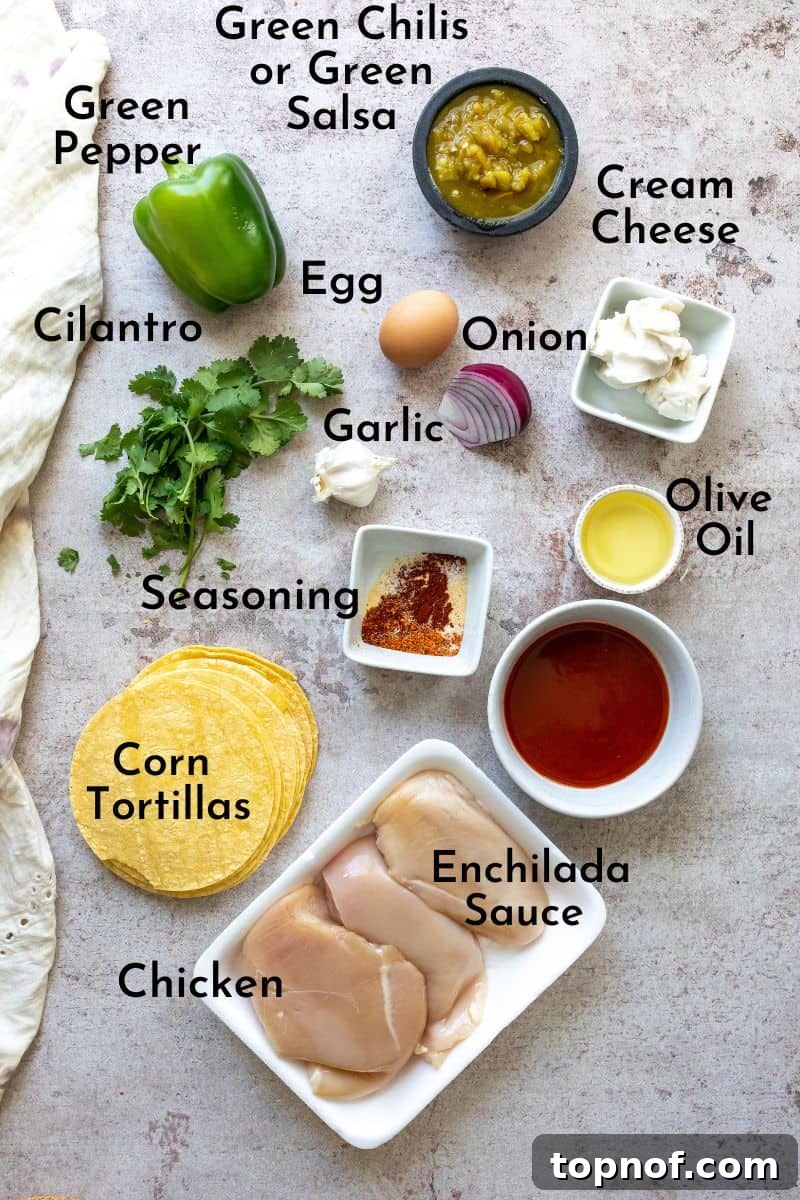
- Chicken: The star of our filling! You’ll need about 2-2½ cups of shredded cooked chicken (approximately 2-3 pounds of raw chicken breasts). For ultimate convenience, a store-bought rotisserie chicken is a fantastic time-saver. Alternatively, you can bake your own chicken breasts, which allows for perfect seasoning control.
- Green Bell Pepper: Adds a fresh, slightly sweet crunch and vibrant color to the filling. Any color bell pepper will work if you prefer, such as red or yellow for a sweeter note.
- Red Onion: Provides a sharp, pungent flavor that beautifully complements the chicken and other ingredients. Its mild bite adds depth to the overall profile.
- Garlic: Essential for that aromatic, savory foundation. Freshly minced garlic delivers the best flavor.
- Cream Cheese: This is the secret ingredient that makes the filling incredibly creamy and binds everything together beautifully. For a dairy-free option, feel free to use a plant-based cream cheese alternative.
- Red Enchilada Sauce: Infuses the chicken mixture with classic Tex-Mex flavor and a hint of spice. While red is traditionally used, you could experiment with green enchilada sauce for a different profile.
- Seasoning Blend: A carefully balanced mix of spices elevates the chicken. You’ll need:
- Garlic Powder: Enhances the garlic flavor.
- Paprika: Adds a subtle smokiness and warm color.
- Chili Powder: Delivers a mild, earthy heat.
- Salt and Black Pepper: Fundamental for seasoning the chicken to perfection.
- Corn Tortillas: The vessel for our delicious filling! Corn tortillas are traditional for taquitos and crisp up beautifully when baked. Make sure to warm them properly to prevent cracking during rolling.
- Cilantro: Freshly chopped cilantro adds a bright, herbaceous note to the filling, enhancing the overall Mexican-inspired flavors.
- Olive Oil: Used for cooking the chicken and lightly coating the taquitos before baking to achieve that irresistible crispiness.
- Egg (Optional): A beaten egg can be used as an egg wash to help seal the tortillas and give them a beautiful golden-brown finish.
- Toppings: The fun part! Consider fresh salsa or green chilies for a zesty kick. Other popular toppings include shredded cheese, creamy avocado slices or guacamole, cool sour cream, diced tomatoes, or crisp shredded lettuce.
Step-by-Step Guide to Making Baked Taquitos
Creating these delectable baked chicken taquitos is a straightforward and rewarding process. Follow these detailed steps to achieve perfectly crispy, flavor-packed results:
Preparing Your Chicken (Choose Your Method)
Step One: Cook Your Chicken (If Not Using Rotisserie)
If you’re starting with raw chicken breasts, this is your first step to a flavorful filling. Begin by preheating your oven to 400°F (200°C). Season your chicken breasts generously with a blend of salt, black pepper, paprika, chili powder, and garlic powder. You can cook them using your preferred method, but here’s a highly recommended approach for juicy, tender chicken:
My Preferred Method for Cooking Chicken Breasts:
- Wash and pat the chicken breasts thoroughly dry with paper towels.
- Heat one tablespoon of olive oil in an oven-safe skillet over medium-high heat.
- Once the skillet is hot, carefully place the seasoned chicken breasts in it. Sear for about 4 minutes on each side until a beautiful golden-brown crust forms. This step locks in the juices and adds depth of flavor.
- Transfer the skillet with the browned chicken into the preheated oven. Bake for approximately 15-18 minutes, or until the internal temperature reaches 165°F (74°C) when checked with a meat thermometer.
- Remove the skillet from the oven and let the chicken breasts rest for 5-10 minutes. Resting allows the juices to redistribute, ensuring tender and moist chicken.
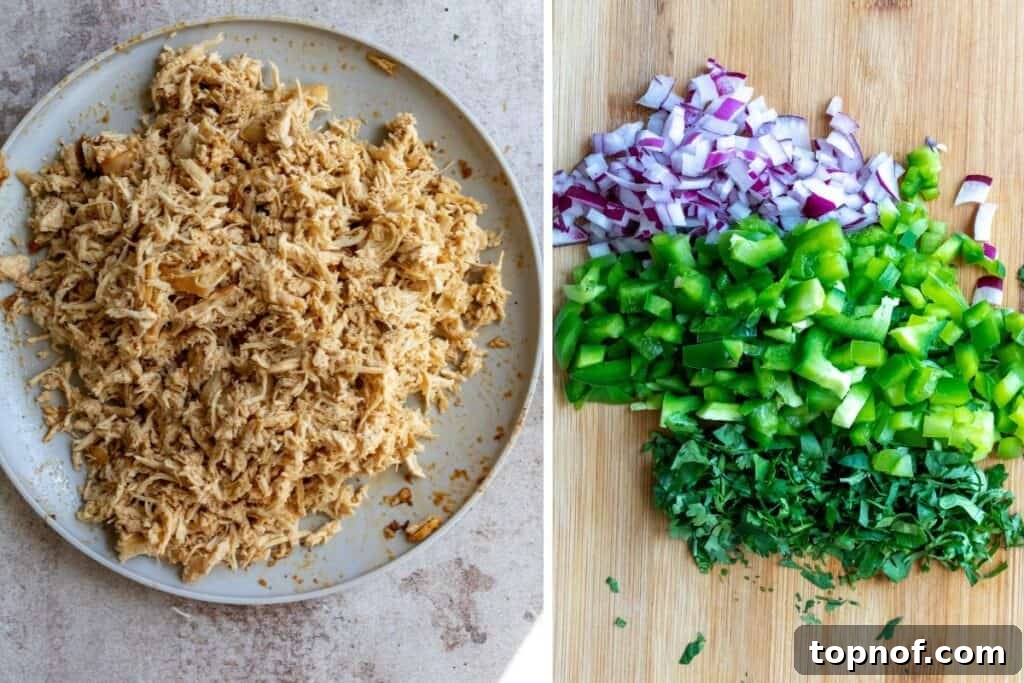
- Once slightly cooled, shred the chicken breasts using two forks. For a super-fast and effortless shredding process, a Pro Tip is to place the cooked chicken breasts in a large bowl and use a stand mixer or hand mixer on low speed. It’s incredibly efficient!
If you are using a rotisserie chicken, simply shred the chicken meat from the bones and skip this cooking step. Proceed directly to Step Two for the filling preparation.
Step Two: Prepare the Flavorful Filling
This is where all the delicious ingredients come together. First, finely chop your green bell pepper, red onion, garlic cloves, and fresh cilantro. Once chopped, combine these vibrant vegetables and aromatic herbs with your shredded chicken in a large mixing bowl. Add the creamy cream cheese, the robust red enchilada sauce, and a dash of additional seasonings to taste (if desired, though the chicken should already be well-seasoned). Mix everything thoroughly until all ingredients are well combined and the filling is uniform and creamy. This can be done with a sturdy spoon or your hands, ensuring an even distribution of flavor in every bite.
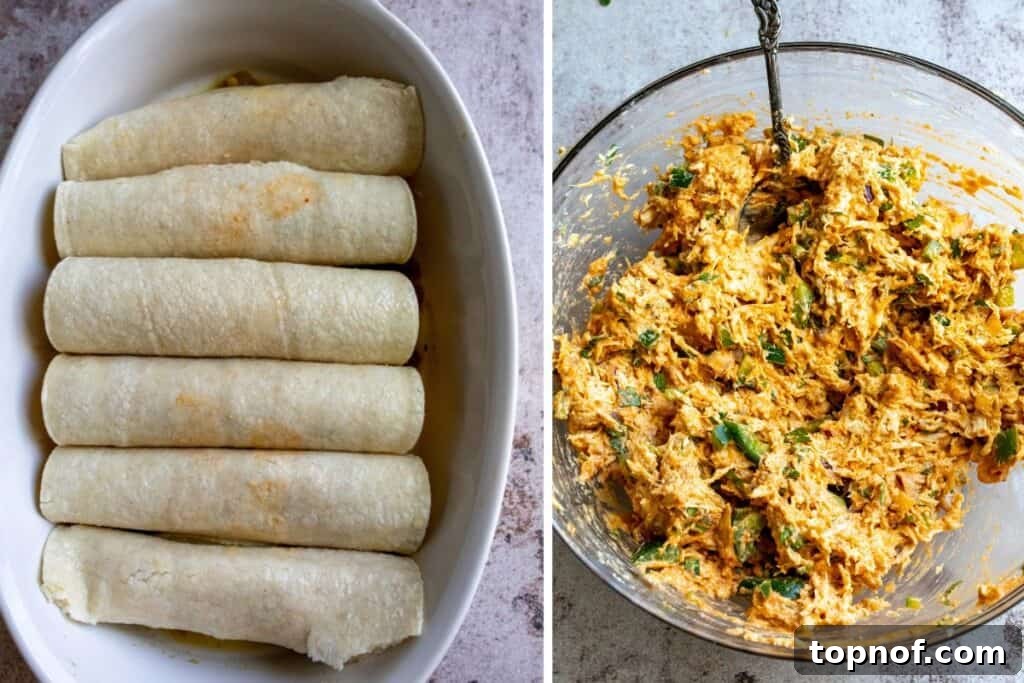
Step Three: Prepare Your Tortillas and Baking Dish
If your oven isn’t already preheated from cooking chicken, set it to 400°F (200°C). Lightly grease a large baking dish (a 9×9 inch or similar size works well) or line a baking sheet with parchment paper for easier cleanup and more even cooking. If using a baking sheet, ensure there’s enough space between taquitos for optimal crisping. For sealing the taquitos, beat one egg in a small bowl to create an egg wash; this step is optional but highly recommended for a golden, secure roll.
Crucially, warming your corn tortillas is key to preventing them from cracking during rolling. Stack about 5-10 tortillas on a plate, wrap them in a damp paper towel, and microwave for 45-60 seconds. Work in small batches as tortillas tend to dry out quickly, making them more prone to breakage. This pliability is essential for tight, even rolling.
Step Four: Assemble Your Taquitos with Precision
Working efficiently while the tortillas are warm and pliable, take one tortilla from your damp paper towel pile. Place 2-3 tablespoons of the chicken mixture near one end. Brush a little egg wash onto the opposite end of the tortilla. Roll the tortilla up tightly, ensuring the egg-washed end is the last to stick, sealing the taquito securely. Place the rolled taquito seam-side down in your prepared baking dish or on the baking sheet. Continue this process until all the filling is used, arranging the taquitos snugly in the dish to help them hold their shape. Once all taquitos are assembled, lightly spray or drizzle the tops with olive oil to encourage a crispy, golden-brown exterior.
Step Five: Bake to Crispy Perfection
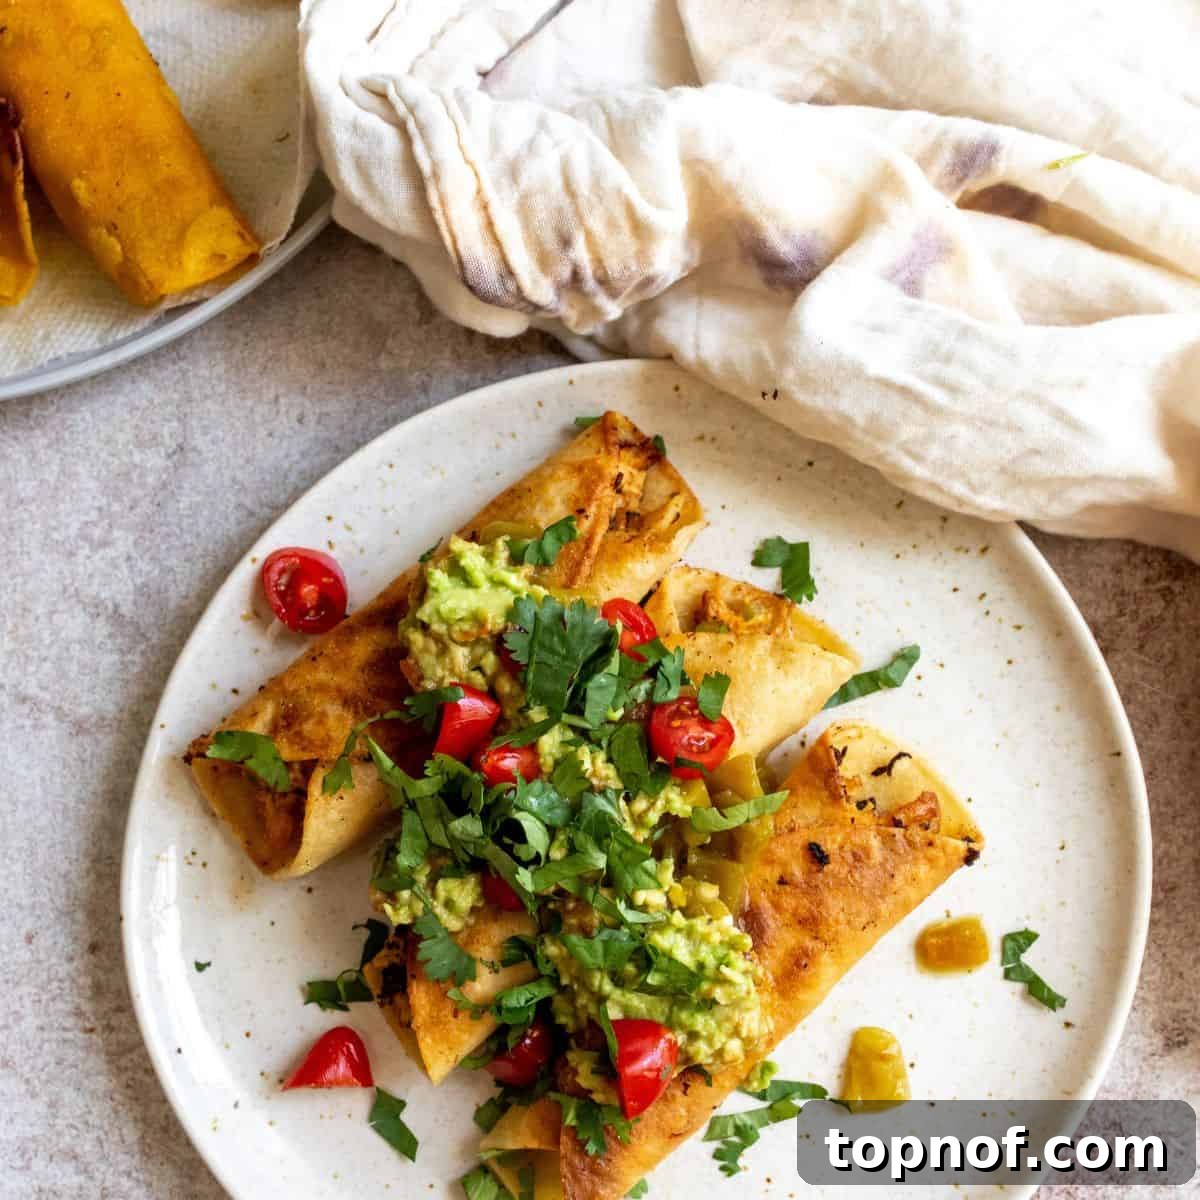
Transfer your baking dish or sheet of assembled taquitos to the preheated oven. Bake for approximately 25-35 minutes, or until the taquitos are beautifully golden brown and crispy. For an extra even crisp, if you have space, gently turn the taquitos halfway through the baking time (around the 12-minute mark). This ensures both sides achieve that desirable crunch. Once baked, allow them to cool for a few minutes before serving. This brief resting period helps them firm up slightly and makes them easier to handle. Finally, garnish with a sprinkle of fresh salsa, a generous amount of extra cilantro, and any other desired toppings. Serve warm and enjoy these irresistible homemade baked chicken taquitos!
Pro Tips and FAQs
To help you master this recipe and answer any questions you might have, here are some expert tips and frequently asked questions:
Yes, absolutely! While corn tortillas are traditional for taquitos and offer a distinct crispiness, small flour tortillas can also be used. They tend to be softer and more pliable, making them easier to roll, but they might not achieve the same level of crispness as corn tortillas when baked. Adjust baking time as needed.
This is a common challenge with corn tortillas! The best way to prevent cracking is to warm them properly before filling. Place a stack of 5-10 tortillas on a plate, wrap them in a damp paper towel, and microwave for 45-60 seconds. Work in small batches, as they cool and dry out quickly. You can also steam them in a steamer basket for a few minutes until soft.
Baked chicken taquitos are excellent for meal prep! You can refrigerate leftovers in an airtight container for up to 3-5 days. For longer storage, freeze them in a single layer on a baking sheet until solid, then transfer to a freezer-safe ziplock bag or container for up to 2 months. Reheat in the oven or air fryer for best results.
The sky’s the limit when it comes to toppings! Classic choices include fresh salsa, creamy guacamole or sliced avocado, cool sour cream or Greek yogurt, and shredded cheese (Cheddar, Monterey Jack, or a Mexican blend). For extra freshness, try diced tomatoes, finely shredded lettuce, pickled jalapeños, or a drizzle of hot sauce.
Absolutely! The chicken filling can be prepared up to 2-3 days in advance and stored in an airtight container in the refrigerator. This makes assembly on a busy weeknight incredibly quick and easy.
For crispy reheating, avoid the microwave. Preheat your oven or air fryer to 375°F (190°C). Place the frozen taquitos in a single layer and bake for 15-20 minutes in the oven, or 8-12 minutes in the air fryer, until heated through and crispy. Flipping them halfway through helps achieve even crispness.
Definitely! To add more heat, you can include a pinch of cayenne pepper or a dash of hot sauce to the chicken filling. You could also chop in some fresh jalapeños or serrano peppers. For serving, offer a spicier salsa or a drizzle of your favorite chili oil.
More Delicious Recipes to Explore
If you enjoyed these baked chicken taquitos, you’ll love exploring some of our other flavorful and easy-to-make recipes:
- Crispy Air Fryer Lemon Pepper Wings
- Hearty Mexican Stuffed Peppers
- Healthy Teriyaki Chicken Kabobs
- Irresistible Crispy Chicken Tacos
We hope you truly enjoyed preparing and savoring these amazing baked chicken taquitos. Your feedback means the world to us, so please don’t hesitate to let us know if you loved this recipe! For even more exciting and wholesome recipes designed to make you feel good from the inside out, be sure to follow us on Instagram and Pinterest. Thank you for visiting and being a part of our culinary journey!
Baked Taquitos
Bailey Rhatigan
10 minutes
40 minutes
5
Pin Recipe
Rate Recipe
Print Recipe
Ingredients
- 2-2½ cup chicken (about 2-3 pounds), *see notes
- 1 cup bell pepper, chopped, *any color
- ¼ cup red onion, chopped
- ⅓ cup cream cheese, *see notes for substitute
- 1 tbsp finely chopped cilantro
- ⅓ cup red enchilada sauce
- ¼ tsp salt, * only if cooking your own chicken
- ¼ tsp pepper, * only if cooking your own chicken
- ½ tsp garlic powder, * only if cooking your own chicken
- ½ tsp paprika, * only if cooking your own chicken
- ½ tsp chili powder, * only if cooking your own chicken
- 2 garlic cloves, chopped
- 1 tbsp olive oil
- 20-25 corn tortillas, *see notes
- 1 egg, optional to seal tortillas
- ¼ cup salsa or green chilis, for topping
Instructions
-
Prepare the Chicken: If using raw chicken breasts, preheat your oven to 400°F (200°C). Season chicken with salt, pepper, paprika, chili powder, and garlic powder. For best results, sear chicken in an oven-safe skillet with olive oil for 4 minutes per side until browned, then transfer to the preheated oven to bake for 15-18 minutes, or until an internal temperature of 165°F (74°C) is reached. Let rest, then shred. If using a rotisserie chicken, simply shred the meat and skip to the next step.
-
Make the Filling: In a large bowl, combine the shredded chicken with chopped green bell pepper, red onion, minced garlic, and fresh cilantro. Add the cream cheese and red enchilada sauce. Mix thoroughly until all ingredients are well combined and the filling is creamy and uniform.
-
Prepare Baking Dish and Tortillas: If your oven isn’t already on, preheat it to 400°F (200°C). Grease a large baking dish (e.g., 9×9 inch) or line a baking sheet with parchment paper. If using, whisk one egg in a small bowl for an egg wash. Place 5-10 corn tortillas on a plate, wrap them in a damp paper towel, and microwave for 45-60 seconds to make them pliable and prevent cracking. Repeat for remaining tortillas as needed, working in small batches.
-
Assemble the Taquitos: Working quickly with warm tortillas, spoon 2-3 tablespoons of the chicken filling onto one end of a tortilla. Brush a small amount of egg wash on the opposite end. Roll the tortilla up tightly, ensuring the egg-washed end secures the roll. Place the taquito seam-side down in the prepared baking dish or on the baking sheet. Repeat until all filling is used. Lightly spray or drizzle the rolled taquitos with olive oil.
-
Bake and Serve: Bake for 25-35 minutes, or until the taquitos are golden brown and crispy. For even crispiness, turn them halfway through (around 12 minutes) if space allows. Let them cool slightly before sprinkling with fresh salsa, extra cilantro, and your choice of additional toppings. Enjoy immediately!
Notes
*Cream cheese can be substituted with shredded cheese (e.g., Monterey Jack or a Mexican blend) if preferred, which also provides a lush flavor.
*Feel free to use yellow or white onions instead of red onion for a slightly milder flavor.
Nutrition
Calories: 406kcal |
Carbohydrates: 51g |
Protein: 20g |
Fat: 15g |
Saturated Fat: 3g |
Polyunsaturated Fat: 4g |
Monounsaturated Fat: 6g |
Trans Fat: 0.1g |
Cholesterol: 44mg |
Sodium: 452mg |
Potassium: 416mg |
Fiber: 8g |
Sugar: 4g |
Vitamin A: 387IU |
Vitamin C: 26mg |
Calcium: 150mg |
Iron: 2mg
Nutrition information is automatically calculated, so should only be used as an approximation.
Additional Info
Bailey Rhatigan
10 minutes
40 minutes
Main Course
American
5
406
Winter
Like this recipe? Leave a comment below!